
Most Concrete Contractors Are Scammers — Here’s How to Outsmart Them
May 12, 2025
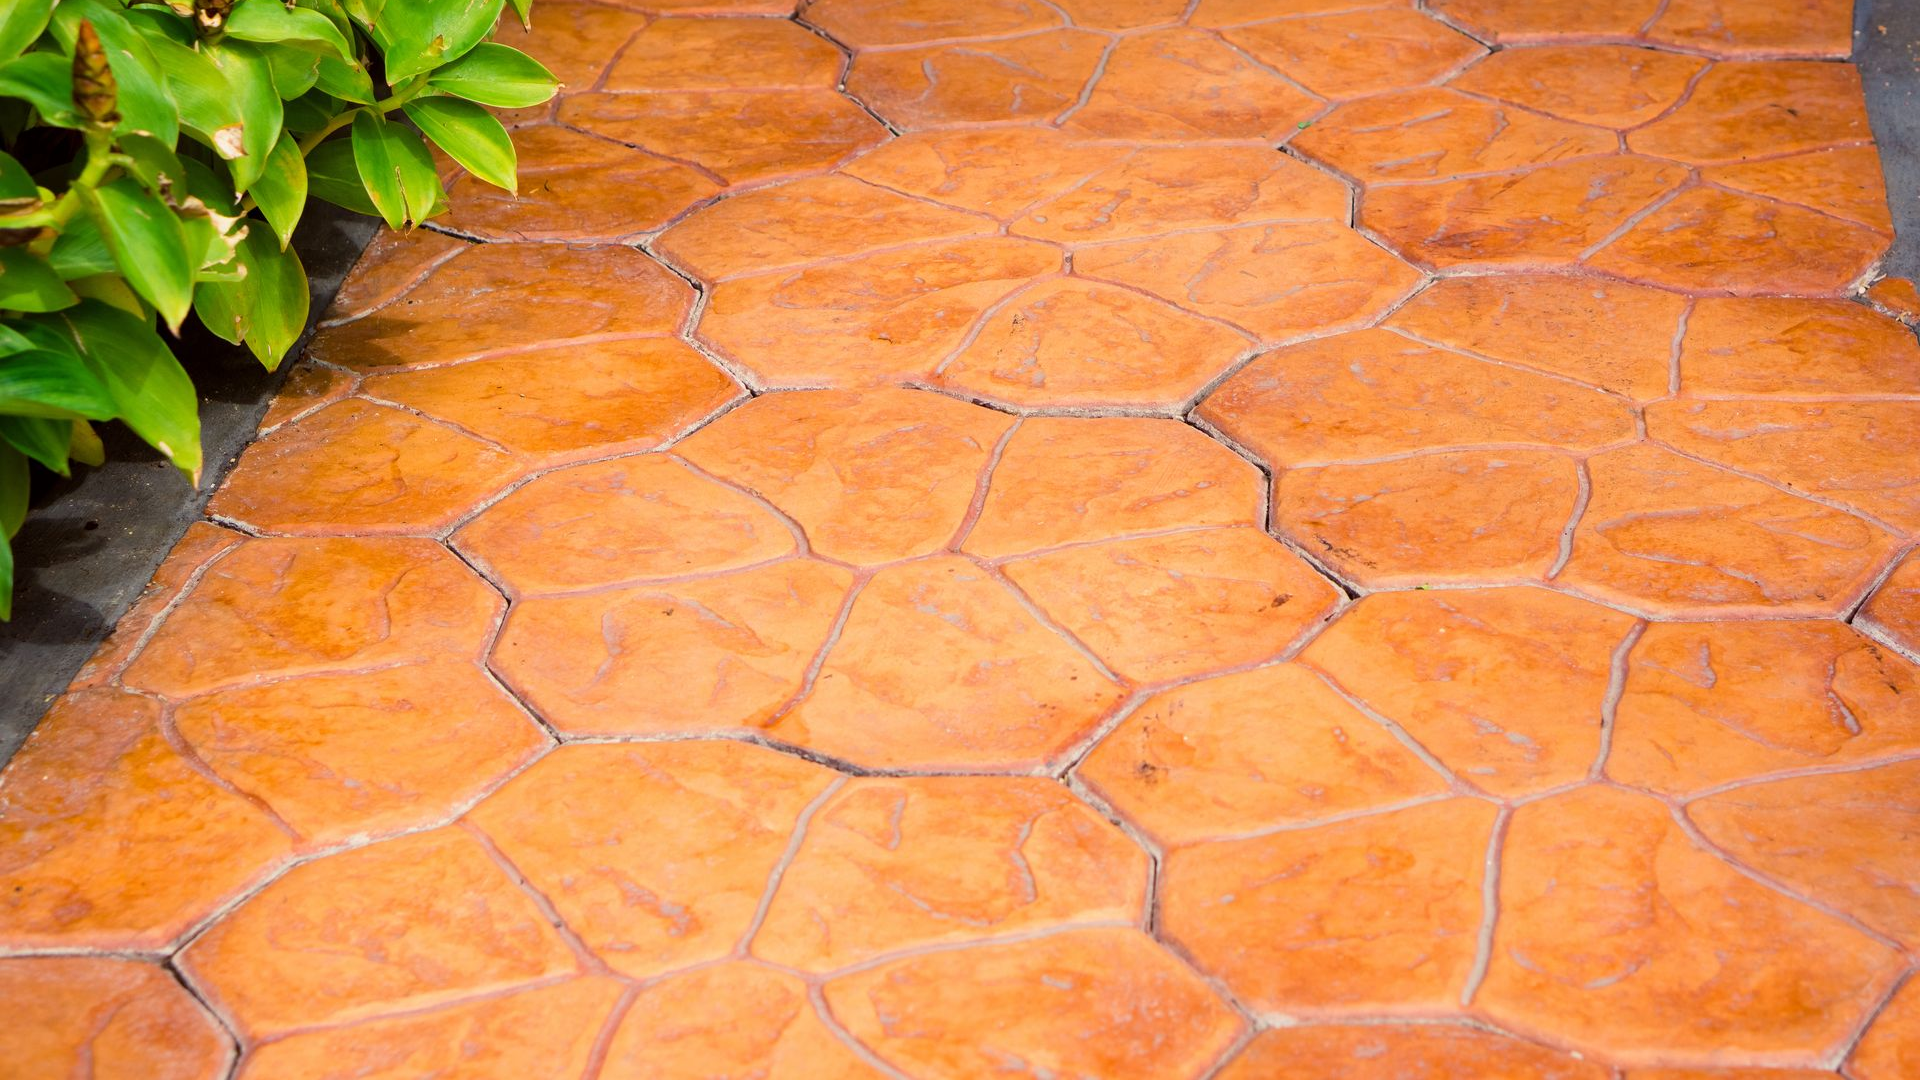
Close-up view of orange-hued stamped concrete pathway with irregular stone pattern next to lush green plants.

Let’s call it out: too many homeowners get burned by shady concrete contractors. From disappearing deposits to rushed, cracking work—this industry has a reputation problem. And sadly, it’s earned.


The hard truth is, most concrete scams happen not because homeowners are careless, but because many contractors know just how to exploit confusion, urgency, or trust. But there’s good news: when you know what to watch for, you can protect your project and your money.


This guide lays out the most common contractor scams, how to spot red flags early, and how to hire a concrete pro you can actually trust.

Why Are Concrete Contractor Scams So Common?

Concrete work is one of the most requested—and abused—services in the residential construction industry. Here’s why the scams keep happening.


Low Barrier to Entry

Unlike electricians or plumbers, concrete contractors often don’t need a license in many areas. That means anyone with a truck and mixer can advertise services without proof of experience.

Some even use photos of projects they didn’t do. Others underbid just to get a deposit, then disappear.


Most Projects Are One-and-Done

Most homeowners only pour concrete once every decade or two—maybe a driveway, patio, or walkway. That means there’s not a lot of repeat business, and many don’t know what “good work” looks like until it’s too late.


Concrete Is a Timing Game

Unlike painting or roofing, you can’t easily fix mistakes once concrete is poured. If the prep is wrong or the mix is bad, the surface will crack, crumble, or drain poorly—and you won’t know until weeks later.

Red Flags That a Concrete Contractor Can’t Be Trusted

Want to avoid a scam? Look out for these early warning signs.


1. They Ask for a Huge Upfront Deposit

A small deposit is normal. But if a contractor asks for 50% or more before any work starts, that’s a major red flag. You risk losing your money if they vanish or delay your job endlessly.

Pro Tip: Never pay in full until the job is done and inspected. Keep written records of payment terms.


2. No Written Contract or Vague Estimates

Verbal agreements don’t cut it. A real pro will give you a clear contract with scope of work, payment schedule, materials list, and timeline. If someone tells you, “We’ll figure it out as we go,” walk away.


3. They Use High-Pressure Sales Tactics

Some scammers claim they “have leftover concrete from another job” and offer a steep discount—but only if you act today. These rush jobs are almost always low quality or never happen at all.


4. No Proof of Insurance or Business Registration

If a contractor can’t provide active insurance or a local business registration, don’t hire them. You could be liable if someone gets hurt on your property or if damage occurs during the job.

How to Vet a Legit Concrete Contractor

It doesn’t take a private investigator to find a trustworthy contractor—just a few smart moves.


Check Reviews and Local References

Look up Google reviews, Facebook, or directories like Angi or HomeAdvisor. Look beyond the star rating. Read the comments. Are they consistent? Do people mention follow-up and communication?


Ask for local references—not just photos. Call past clients and ask:

  • Was the project completed on time?
  • Were there hidden charges?
  • Would you hire them again?

Inspect Their Past Work in Person

If possible, visit a recent job site or ask for addresses of projects done in the last 6–12 months. A reputable contractor won’t hesitate. Look for cracks, surface color, drainage, and overall finish.


Get Multiple Bids—But Don’t Just Go for the Lowest

Three quotes are standard. If one is significantly lower, be cautious. Some scammers undercut everyone to win the bid, then add surprise charges or cut corners on prep, materials, or labor.


What a fair quote includes:

  • Site prep and grading
  • Forming and reinforcement
  • Concrete mix specs (PSI rating)
  • Sealing or finishing options

What Questions Should You Ask Before Hiring?

Having the right questions ready can stop a scam before it starts.


Ask These Before Signing:

  • What PSI strength will you use for the concrete? (Most driveways should be at least 3,000–4,000 PSI.)
  • How will you handle drainage and slope? (Poor drainage is a top reason for cracking.)
  • Will you use rebar or wire mesh reinforcement? (This improves durability.)
  • Do you guarantee your work in writing? (Warranties should be clear and specific.)
  • Can I see your insurance and license? (Always verify before signing.)

If they dodge any of these, move on.

Outsmarting Scammers Starts With Knowing the Process

You don’t need to be a concrete expert—but understanding the steps helps protect your investment.


Basic concrete project timeline:

  1. Planning & Site Inspection: Assess drainage, access, and size.
  2. Grading & Forming: Set proper slope and frame the area.
  3. Reinforcement: Install mesh or rebar if needed.
  4. Pouring & Finishing: Weather, timing, and surface finish all matter.
  5. Curing & Sealing: Wait at least 24–48 hours before walking; sealing adds protection.

A good contractor will walk you through these steps before starting.

Final Thoughts: Hire Smarter, Not Cheaper

Most concrete contractor scams succeed because they prey on urgency, low prices, or confusion. Don’t fall for it. A little research goes a long way.


Trust your gut. If something feels off, it probably is. Hire someone who values transparency, proof of past work, and clear communication.


At Elite Outdoor Living Solutions, we believe in earning trust through quality, not gimmicks. We provide written estimates, real references, and projects built to last. If you're planning a patio, driveway, or outdoor space—let’s talk.
September 16, 2026
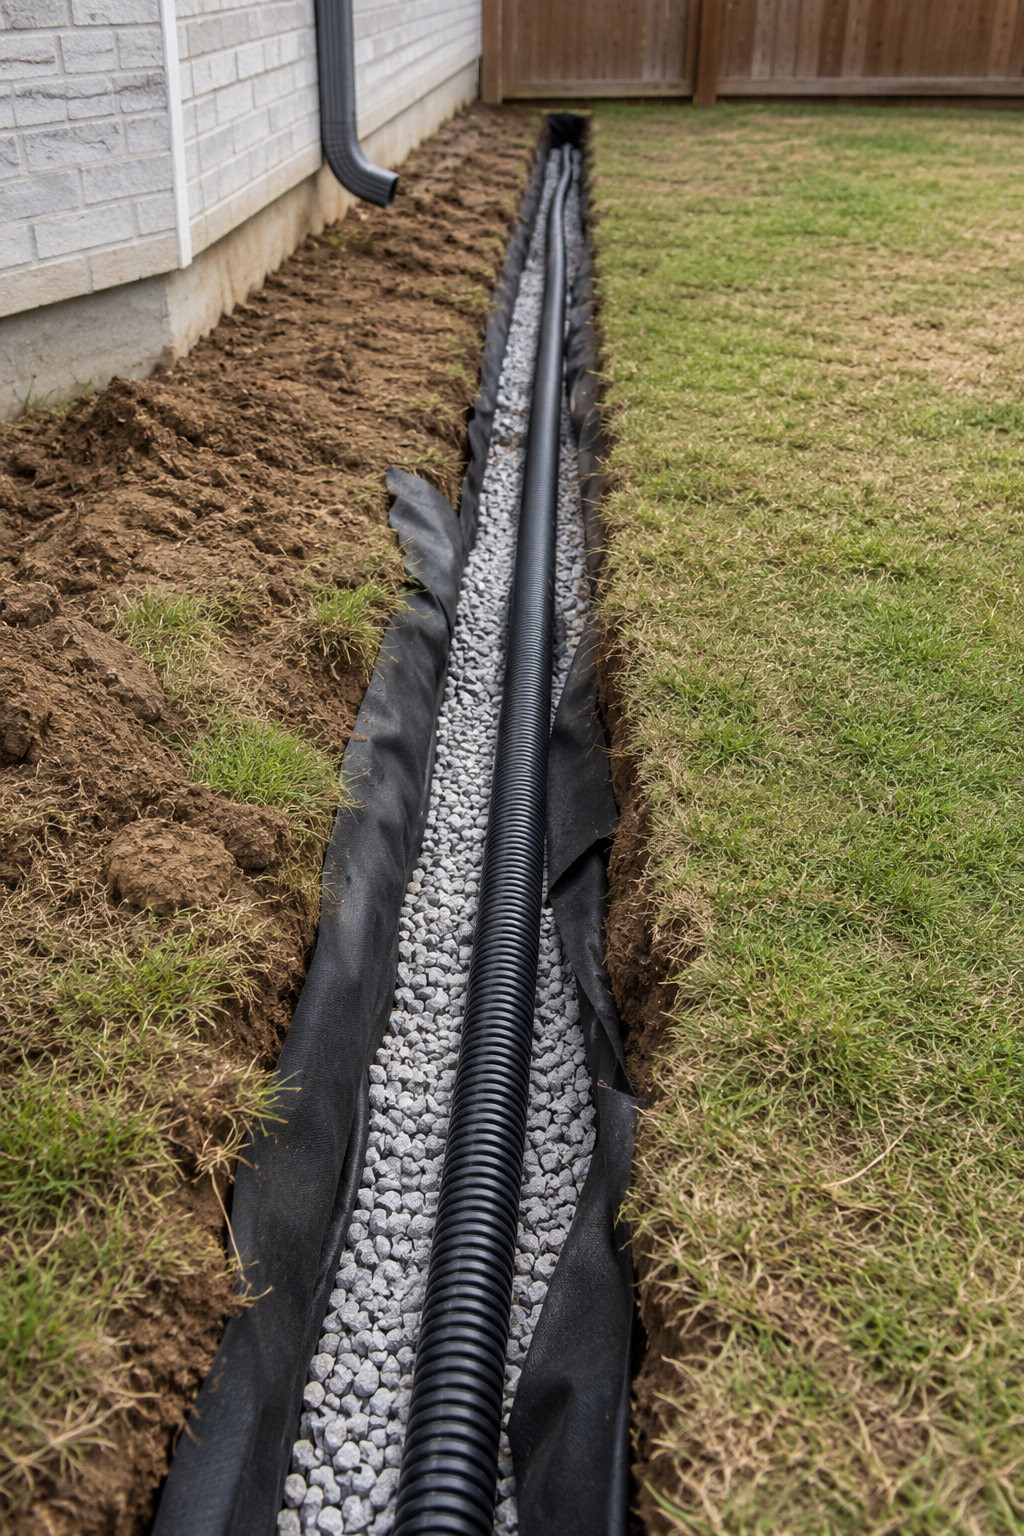
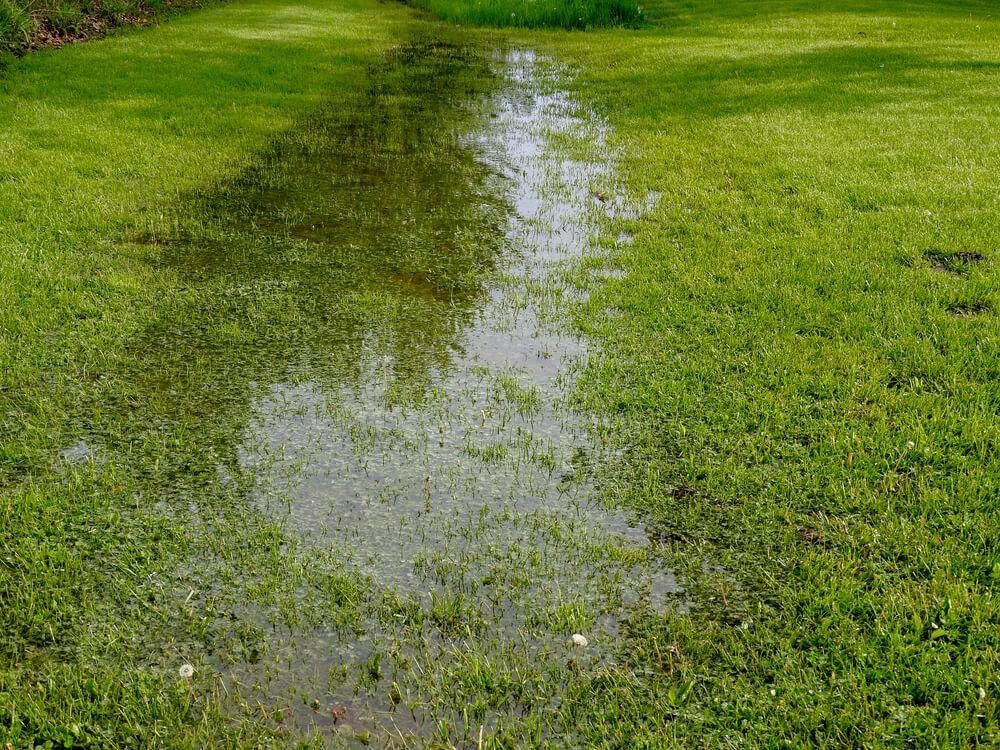
A French drain isn't a set-it-and-forget-it system forever. Pipes clog, gravel beds compact and fill with silt, and systems installed without the right slope or outlet stop working long before most homeowners notice — usually right around the time a big storm reveals the problem. Standing Water Returns Where It Used to Drain The clearest sign is the most obvious one: an area that used to stay dry after rain is pooling again. This almost always means the pipe is clogged with silt or debris, the gravel bed has compacted and lost its ability to move water, or the outlet the drain empties into is blocked. Soggy Ground Directly Over the Drain Line If the ground along the drain's path stays wet or spongy longer than the surrounding yard, water is likely surfacing along the trench instead of moving through the pipe as intended. This can mean the pipe has collapsed, shifted, or was installed without enough slope to keep water moving toward the outlet. Water Near the Foundation Despite Having a Drain If a French drain was installed specifically to protect your foundation and you're still seeing moisture in the basement or along the foundation wall, the system either isn't intercepting water before it reaches that zone, or the original installation wasn't deep enough or positioned correctly relative to the foundation. What Repair Actually Involves Fixing a failed French drain starts with locating the failure point — usually by excavating a section to inspect the pipe and gravel condition, or using a camera scope for longer runs. Depending on what we find, repair can mean flushing and clearing debris, replacing a collapsed or damaged section of pipe, adding gravel back where it's compacted, or in some cases, re-routing the system entirely if the original slope or outlet was never correct to begin with. When It's Time to Replace Rather Than Repair A French drain installed without proper fabric wrapping around the gravel bed will silt up repeatedly no matter how many times it's cleared, since the root cause — soil migrating into the gravel — was never addressed. In these cases, a full reinstall with the correct materials is more cost-effective long-term than repeated cleanouts.  Get Your Drainage System Inspected If your French drain isn't performing the way it used to, Elite Outdoor Living Solutions inspects and repairs yard drainage systems across Oklahoma City, Edmond, Norman, Moore, and Yukon. Call (405) 972-8338 or contact us for a free assessment.
September 9, 2026
The body content of your post goes here. To edit this text, click on it and delete this default text and start typing your own or paste your own from a different source.
September 2, 2026
Ask the right questions before hiring a pool builder. Ensure a smooth project and avoid hidden costs. Contact us for expert guidance!
September 1, 2026
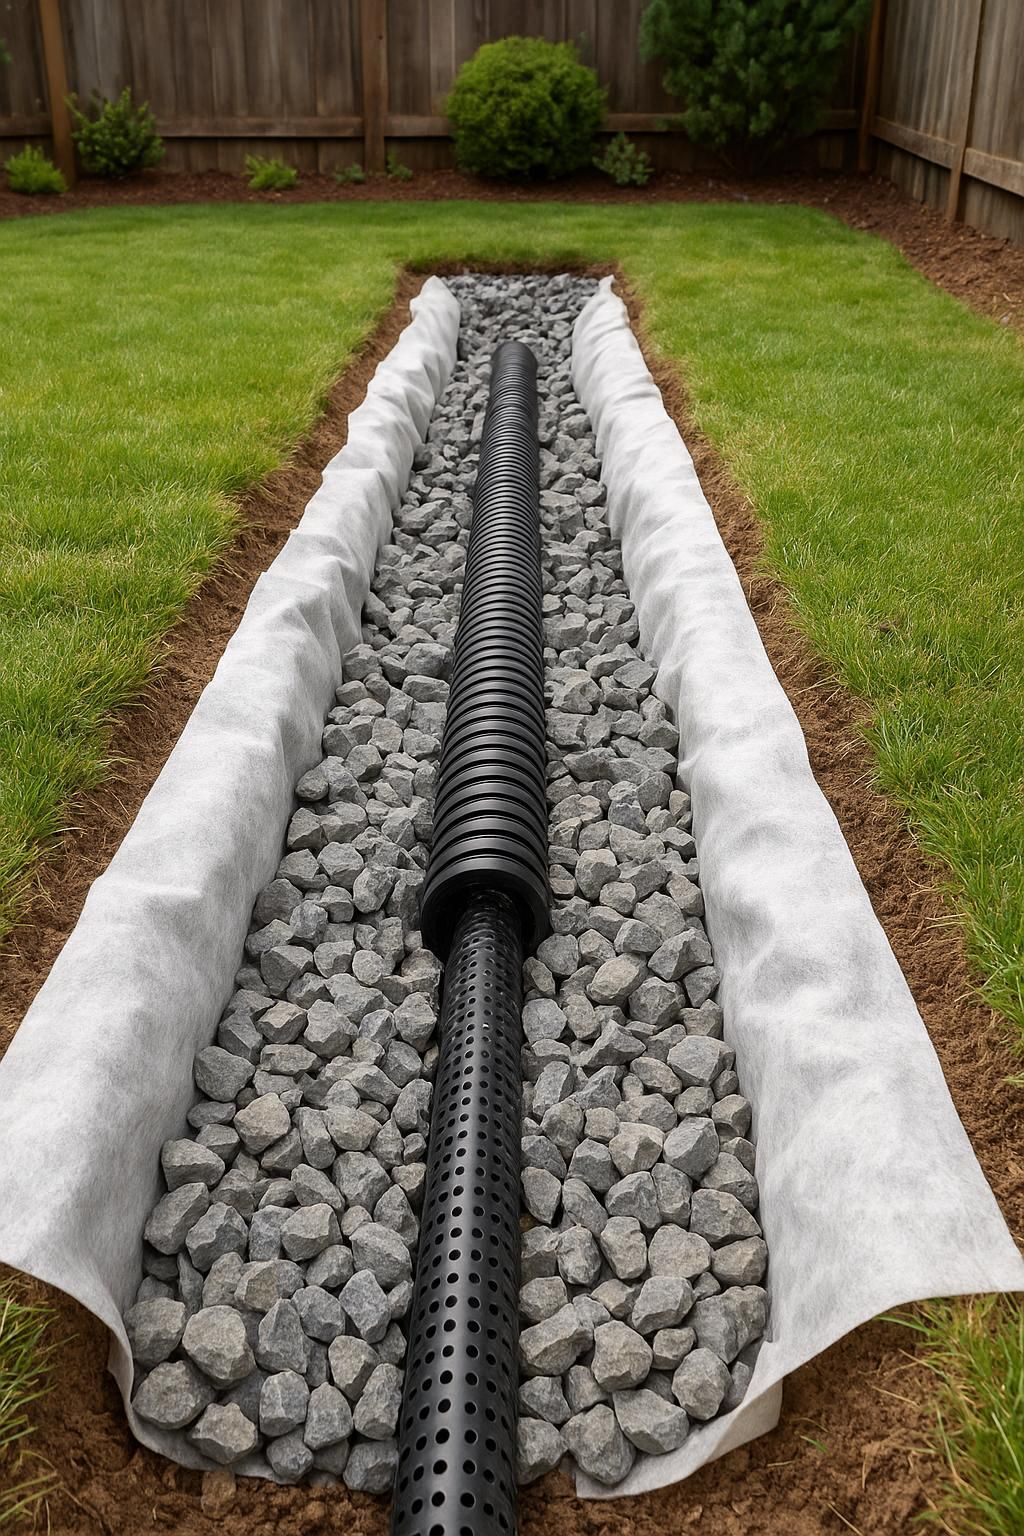
Once you know your yard needs a French drain, the next question is usually what the installation itself looks like — how long it takes, what gets dug up, and what your yard looks like when it's done. Here's what the process actually involves, step by step. 1. Site Assessment and Utility Marking Every installation starts with a walk of the property to confirm where water is collecting, trace where it's coming from, and map out the best path for the drain to carry it away. Before any digging happens, underground utilities on the property have to be located and marked — skipping this step risks hitting a gas, water, or electrical line during trenching. 2. Trenching Along the Planned Path With the path marked, the trench gets dug to the depth and slope needed to move water by gravity toward the discharge point. Getting the slope right matters more than the trench being deep — a French drain with the wrong grade won't drain properly no matter how well the rest of it is built. 3. Lining the Trench and Placing the Pipe The trench gets lined with landscape fabric, which keeps soil and sediment from working their way into the gravel and clogging the system over time. A perforated pipe goes in along the bottom of the trench, oriented so water can enter through the perforations and flow toward the discharge point. 4. Backfilling with Gravel Gravel gets backfilled around and over the pipe, filling the trench and giving water an easy path to travel through instead of sitting in the surrounding soil. The landscape fabric gets folded over the top of the gravel before the trench is closed, to keep the system from filling in with dirt over time. 5. Connecting to a Discharge Point The system has to end somewhere water can actually go — a street, a dry well, or a low point on the property away from the house. A French drain that isn't tied into a real discharge point just moves water a short distance instead of actually solving the problem, so this connection is one of the most important parts of getting it right. 6. Restoring the Yard Once the trench is filled and compacted, any sod or landscaping that was disturbed during digging gets restored as closely as possible to how it looked before. On most residential jobs, the trench line is the only visible trace once the yard is cleaned up and any disturbed grass has a chance to fill back in. How Long It Takes Most straightforward residential French drain installations wrap up within a day or two. Longer runs, systems that have to route around existing landscaping or hardscape, or yards where several problem areas are being tied into one system can take longer. The site assessment is usually where that timeline gets a clearer answer, since it depends on the specific yard. What to Do Before the Crew Arrives Clear the work area of furniture, planters, or anything else near the planned trench path. Point out any sprinkler lines, invisible fence wire, or landscape lighting that might not show up on a utility locate. Expect some disturbed grass or landscaping directly along the trench line — this is normal and typically fills back in or gets reseeded after installation. After Installation Once the trench is closed and the yard is cleaned up, the disturbed area along the trench line is usually the only visible sign work happened — everything else is below the surface. Grass along the trench typically needs a few weeks to fill back in. From that point, the system works continuously below ground any time it rains, without anything for the homeowner to maintain day to day.  Get a French Drain Installation Quote Elite Outdoor Living Solutions installs French drains and full yard drainage systems across Oklahoma City, Edmond, Bethany, Nichols Hills, Norman, Moore, Yukon, and Mustang. Every installation starts with an on-site assessment, so the scope and timeline reflect your actual yard rather than a general estimate. Call (405) 972-8338 or contact us to get started.
August 26, 2026
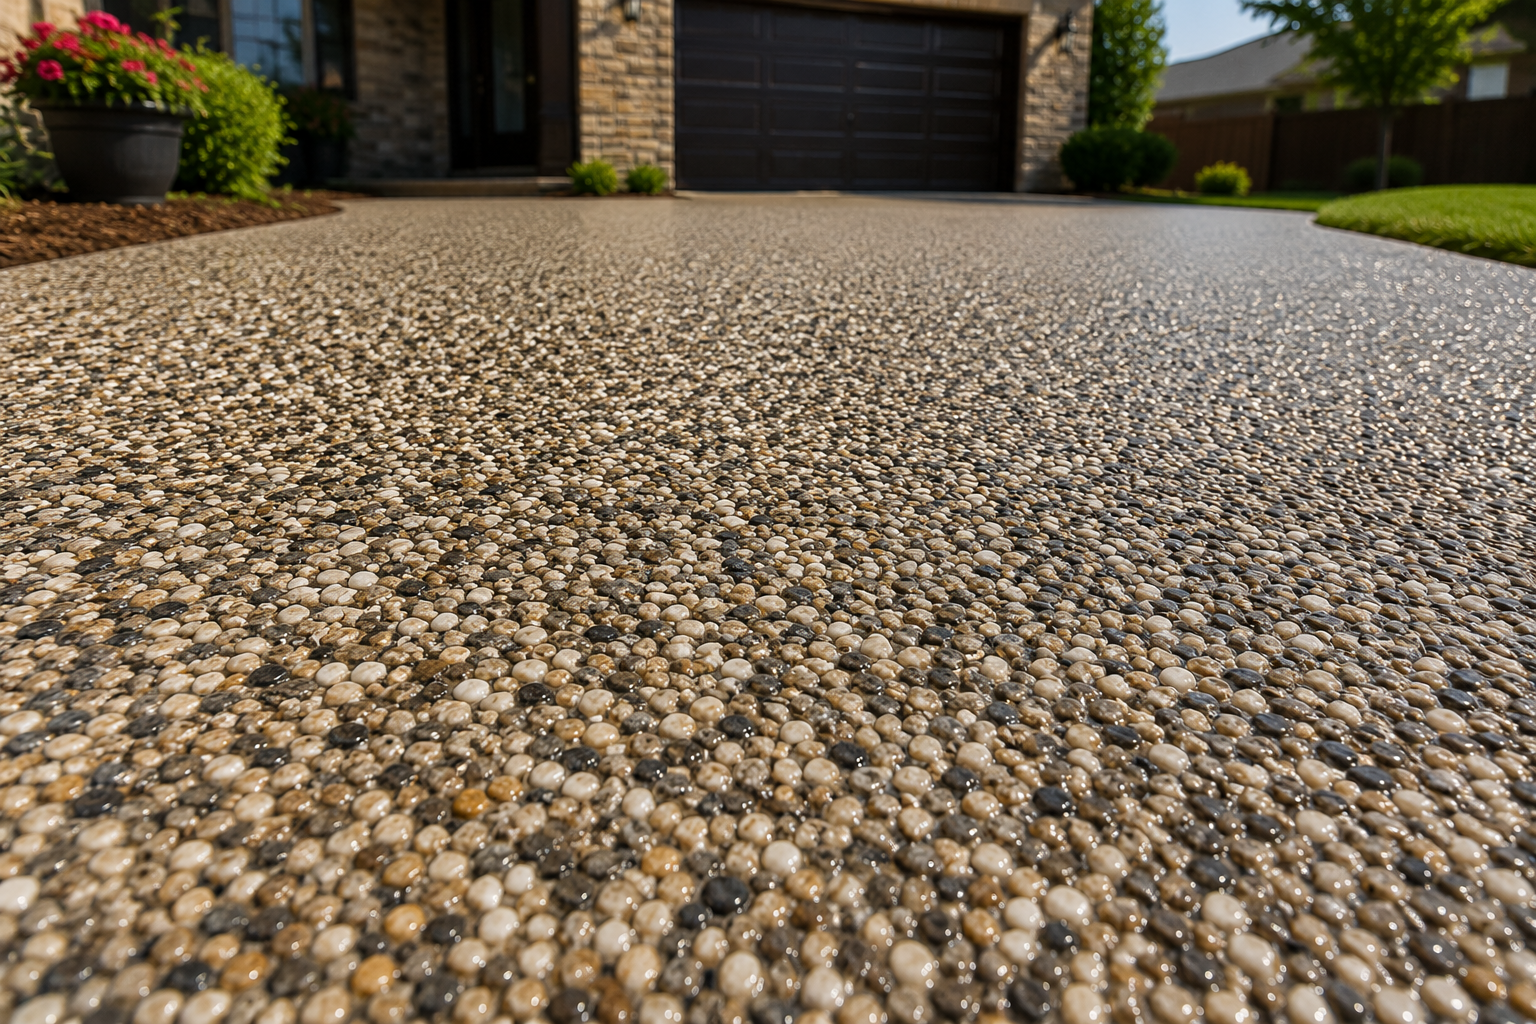
Learn how Vuba Stone lasts 10-15 years in Oklahoma's climate. Contact us for expert installation and durable outdoor solutions!
August 19, 2026
Compare French drains, channel drains, & catch basins for your yard. Choose the right solution today!
August 12, 2026
Plan your inground pool installation with our expert guide. Start early for a smooth build process and enjoy your summer oasis!
August 7, 2026
Learn when to repair or resurface your concrete pool deck. Get expert advice today!
July 29, 2026
Ignoring yard drainage can lead to costly damage. Learn about French drains & protect your home. Contact us for tailored solutions!
July 24, 2026
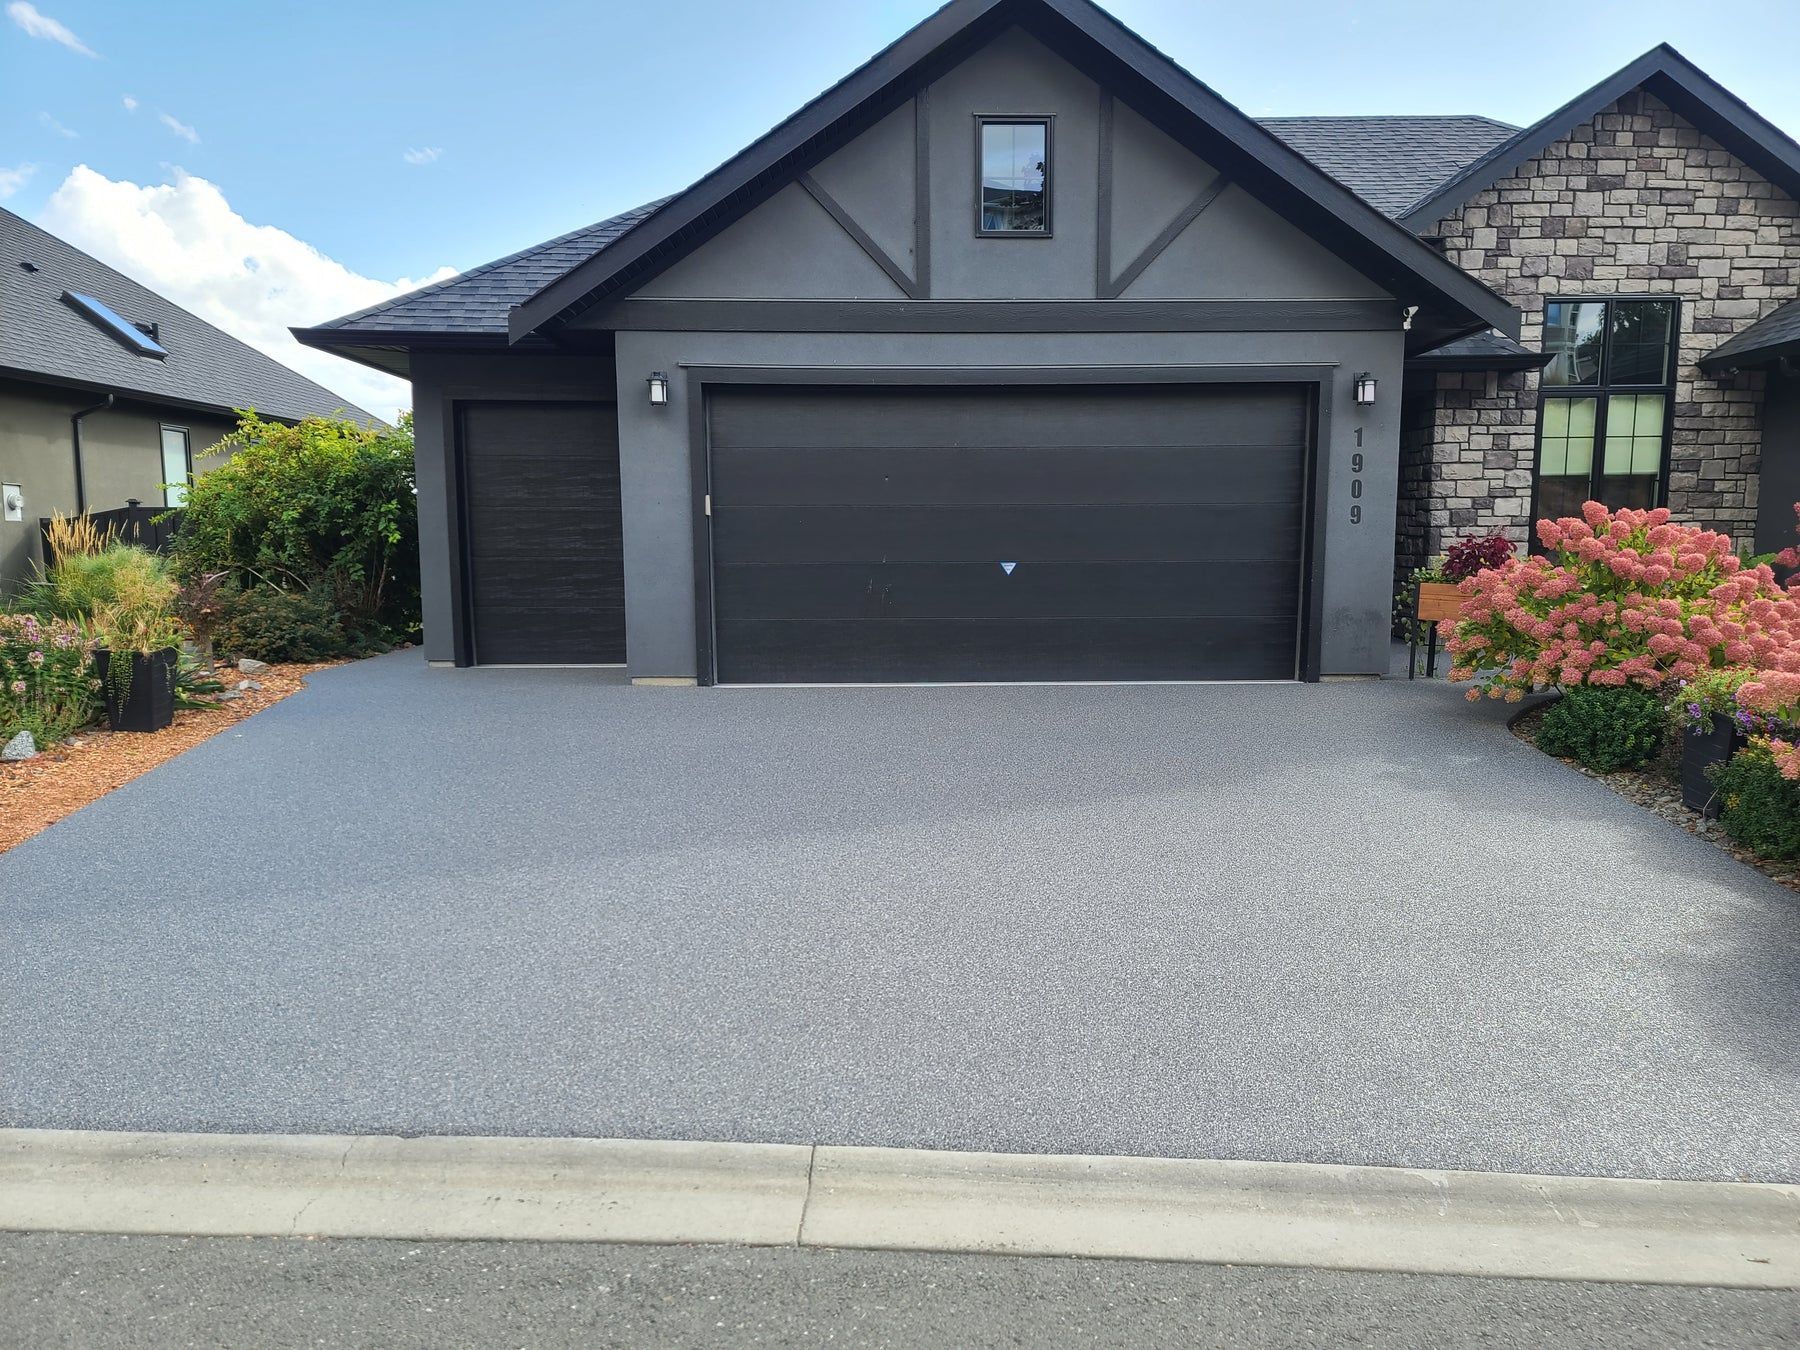
Homeowners in Edmond & Nichols Hills choose resin-bound driveways for durability & style. Contact us for a quote today!