
Why Most Backyard Decks Are Doomed to Rot — But Some Defy the Odds
May 9, 2025
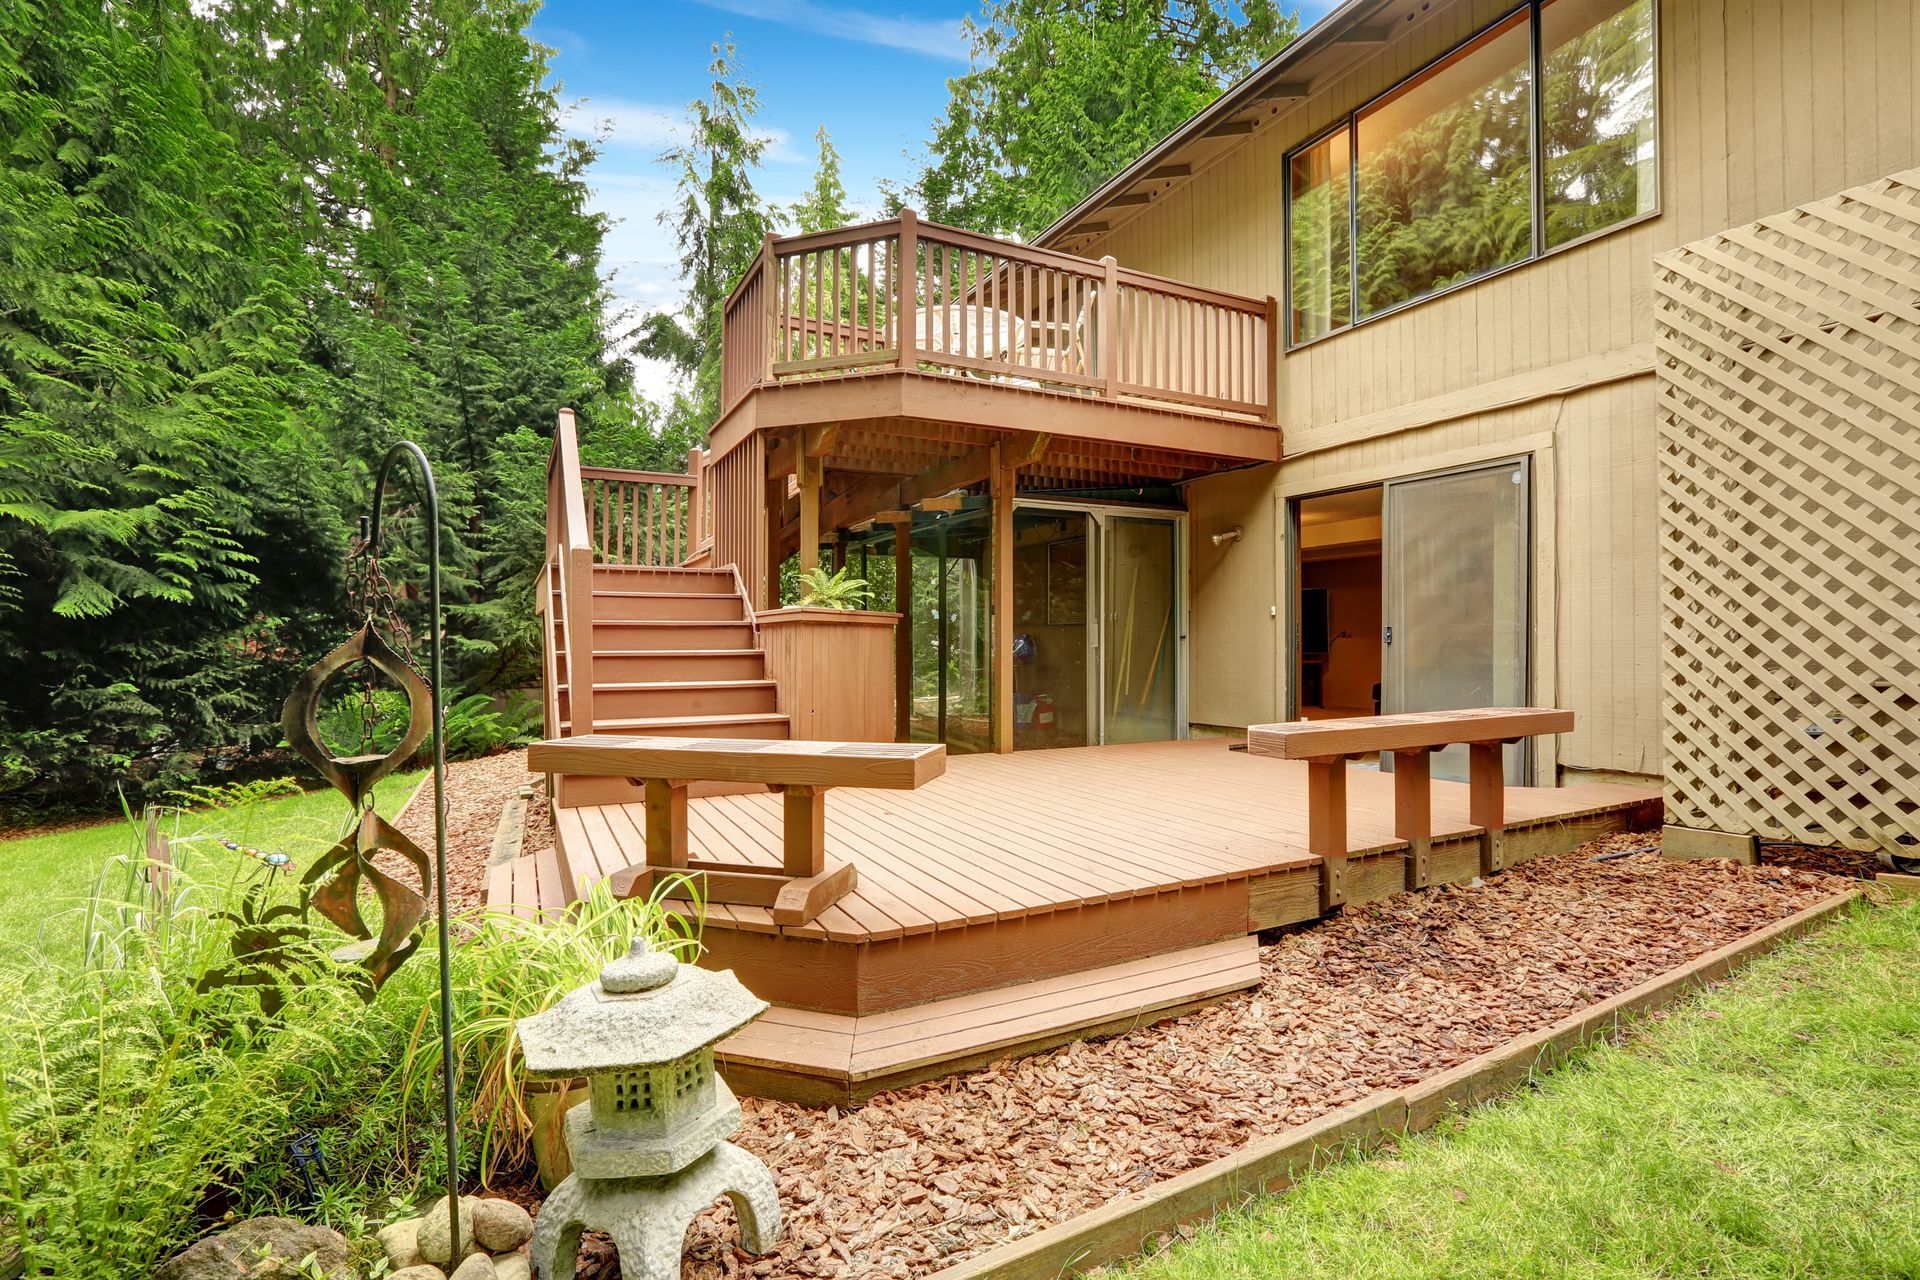
Elevated wooden backyard deck with stairs, built-in benches, and surrounding trees for a private outdoor retreat.

Backyard decks are meant to be your home’s happy place—a spot to relax, grill, or gather with friends. But here’s the catch: most decks don’t survive long. They rot, warp, and fall apart within years. And the reason isn’t always obvious.


The main culprit behind premature deck failure is moisture. If water seeps in and stays trapped, rot isn’t just likely—it’s inevitable. The good news? Some decks beat the odds. They’re built smarter, maintained right, and designed to last.


This blog breaks down why most backyard decks fail and what separates the ones that stand strong through the seasons. Whether you're planning a new deck or trying to save the one you’ve got, this guide can help you make decisions that pay off in the long run.

What Really Causes Decks to Rot?

Moisture is the root cause, but the problem goes deeper than just a little rain.

Poor Drainage and Trapped Water

If water doesn’t have a clear path to drain, it pools—and that’s where rot starts. Many homeowners don’t realize their deck’s design might actually trap moisture. Spaces between boards that are too tight or sloped boards that drain toward the house are common issues.


Checklist for better drainage:

  • Boards spaced at least ¼ inch apart
  • Deck slope away from the home
  • No planters or mats that trap water underneath

Subpar Materials

Pressure-treated wood is common, but not all treated lumber is created equal. Some lumber is treated for ground contact (where moisture risk is higher), while others are meant only for above-ground use. Using the wrong type can cut a deck’s lifespan in half.

Pro Tip: Use ground-contact-rated lumber for posts and framing—even if they’re not touching the ground directly.

Hidden Fastener Mistakes

Even the best boards can rot around poorly installed fasteners. Screws and nails that puncture wood without sealing allow water to seep in. Over time, that leads to wood decay around the screw holes.


Solution: Consider hidden fastener systems that reduce water intrusion and give the deck a cleaner look.

Why Do Some Decks Last 20+ Years?

A few key choices make all the difference.

Smart Design Choices from the Start

A deck that survives two decades isn’t built by accident. It’s designed with airflow, drainage, and durability in mind. Composite materials, stainless steel hardware, and water-resistant sealants are part of the equation—but so is thoughtful layout.


Design strategies that extend lifespan:

  • Leave ample airflow beneath the deck
  • Avoid attaching directly to the home if possible
  • Use flashing tape between ledger boards and framing

Composite Decking or Hardwood Alternatives

While traditional pressure-treated wood is budget-friendly, composite decking is changing the game. It resists rot, never needs staining, and handles heat, rain, and pests better than wood.


Options to consider:

  • Trex or Fiberon for a maintenance-free composite look
  • Ipe or Cumaru hardwoods that naturally resist decay


Just note: these materials cost more upfront, but they offer serious returns in durability and reduced upkeep.

Regular Maintenance and Sealing

Even tough decks need upkeep. Without regular cleaning and sealing, mildew and moisture will still win. If you’re working with wood, resealing every two to three years is non-negotiable in most climates.


Quick maintenance tips:

  • Sweep debris weekly to avoid mold buildup
  • Power wash seasonally (low pressure only)
  • Reapply a sealant with UV and water protection

Are Building Codes and Inspections Enough?

Short answer: not always. Codes are the minimum standard, not a guarantee of long-term performance.


In many areas, backyard decks are built without permits or are done DIY-style. Even when they are permitted, inspectors usually check for safety, not longevity. This means rot-prone shortcuts can still pass inspection.

What to Watch For:

  • No flashing tape between ledger boards and house siding
  • Improper post-to-beam connections
  • Undersized joists that lead to sagging and water pooling

If you're hiring a contractor, ask questions about how they address rot prevention specifically—not just code compliance. That level of detail separates short-term fixes from long-term solutions.

How to Build a Deck That Lasts in Harsh Weather

In places with heavy rain, snow, or strong sun, deck failure happens even faster. That’s why regional design considerations matter.

For example, decks in Texas or Florida must fight both UV damage and humidity. In colder areas like the Northeast, freeze-thaw cycles crack wood faster.

To increase your deck’s weather resistance:

  • Use UV-blocking stains or sealants
  • Choose deck boards that won’t splinter or warp
  • Add underdeck drainage systems for raised decks
  • Install deck skirts to keep animals and debris out

When selecting a contractor, look for one who builds with your climate in mind—not just what’s trendy or cheapest.

Final Thoughts: Build It Right, or Fix It Right

If your backyard deck is showing signs of soft spots, sagging, or discoloration, don’t wait. The longer moisture lingers, the faster rot sets in.


But if you’re planning a new deck, now is the time to get it right. Choosing the right materials, design, and contractor from the start can mean the difference between rebuilding in 7 years or enjoying it for 25.


At Elite Outdoor Living Solutions, we design and build decks that last. Our team knows what it takes to beat rot from day one—so you can focus on enjoying your space, not replacing it.
September 16, 2026
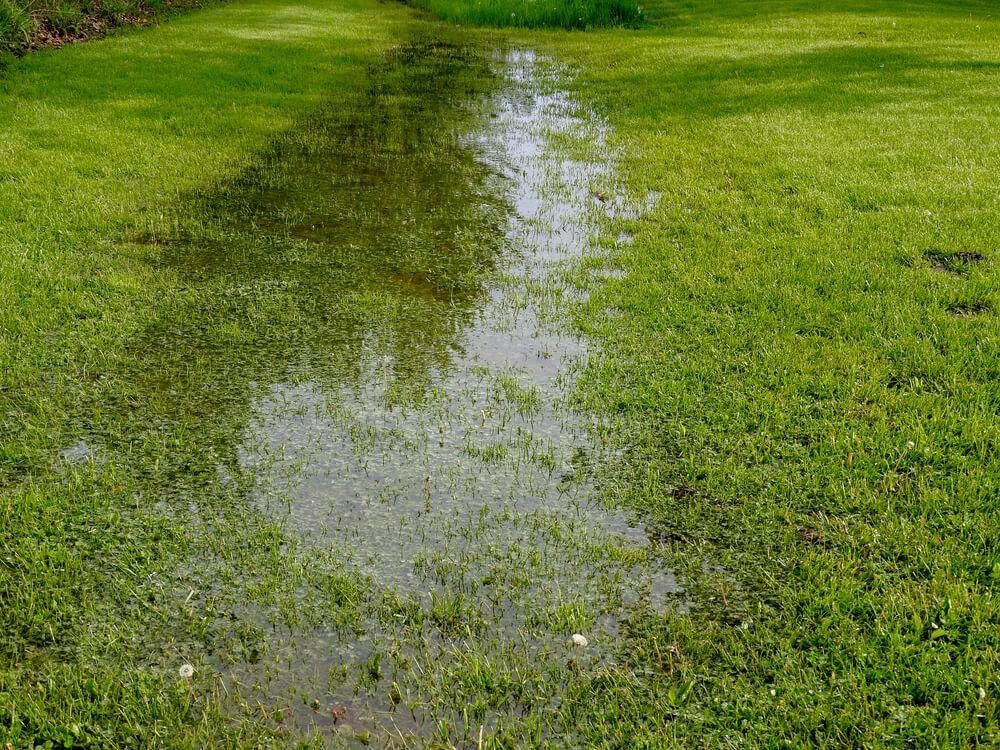
A French drain isn't a set-it-and-forget-it system forever. Pipes clog, gravel beds compact and fill with silt, and systems installed without the right slope or outlet stop working long before most homeowners notice — usually right around the time a big storm reveals the problem. Standing Water Returns Where It Used to Drain The clearest sign is the most obvious one: an area that used to stay dry after rain is pooling again. This almost always means the pipe is clogged with silt or debris, the gravel bed has compacted and lost its ability to move water, or the outlet the drain empties into is blocked. Soggy Ground Directly Over the Drain Line If the ground along the drain's path stays wet or spongy longer than the surrounding yard, water is likely surfacing along the trench instead of moving through the pipe as intended. This can mean the pipe has collapsed, shifted, or was installed without enough slope to keep water moving toward the outlet. Water Near the Foundation Despite Having a Drain If a French drain was installed specifically to protect your foundation and you're still seeing moisture in the basement or along the foundation wall, the system either isn't intercepting water before it reaches that zone, or the original installation wasn't deep enough or positioned correctly relative to the foundation. What Repair Actually Involves Fixing a failed French drain starts with locating the failure point — usually by excavating a section to inspect the pipe and gravel condition, or using a camera scope for longer runs. Depending on what we find, repair can mean flushing and clearing debris, replacing a collapsed or damaged section of pipe, adding gravel back where it's compacted, or in some cases, re-routing the system entirely if the original slope or outlet was never correct to begin with. When It's Time to Replace Rather Than Repair A French drain installed without proper fabric wrapping around the gravel bed will silt up repeatedly no matter how many times it's cleared, since the root cause — soil migrating into the gravel — was never addressed. In these cases, a full reinstall with the correct materials is more cost-effective long-term than repeated cleanouts.  Get Your Drainage System Inspected If your French drain isn't performing the way it used to, Elite Outdoor Living Solutions inspects and repairs yard drainage systems across Oklahoma City, Edmond, Norman, Moore, and Yukon. Call (405) 972-8338 or contact us for a free assessment.
September 9, 2026
The body content of your post goes here. To edit this text, click on it and delete this default text and start typing your own or paste your own from a different source.
September 2, 2026
Ask the right questions before hiring a pool builder. Ensure a smooth project and avoid hidden costs. Contact us for expert guidance!
September 1, 2026
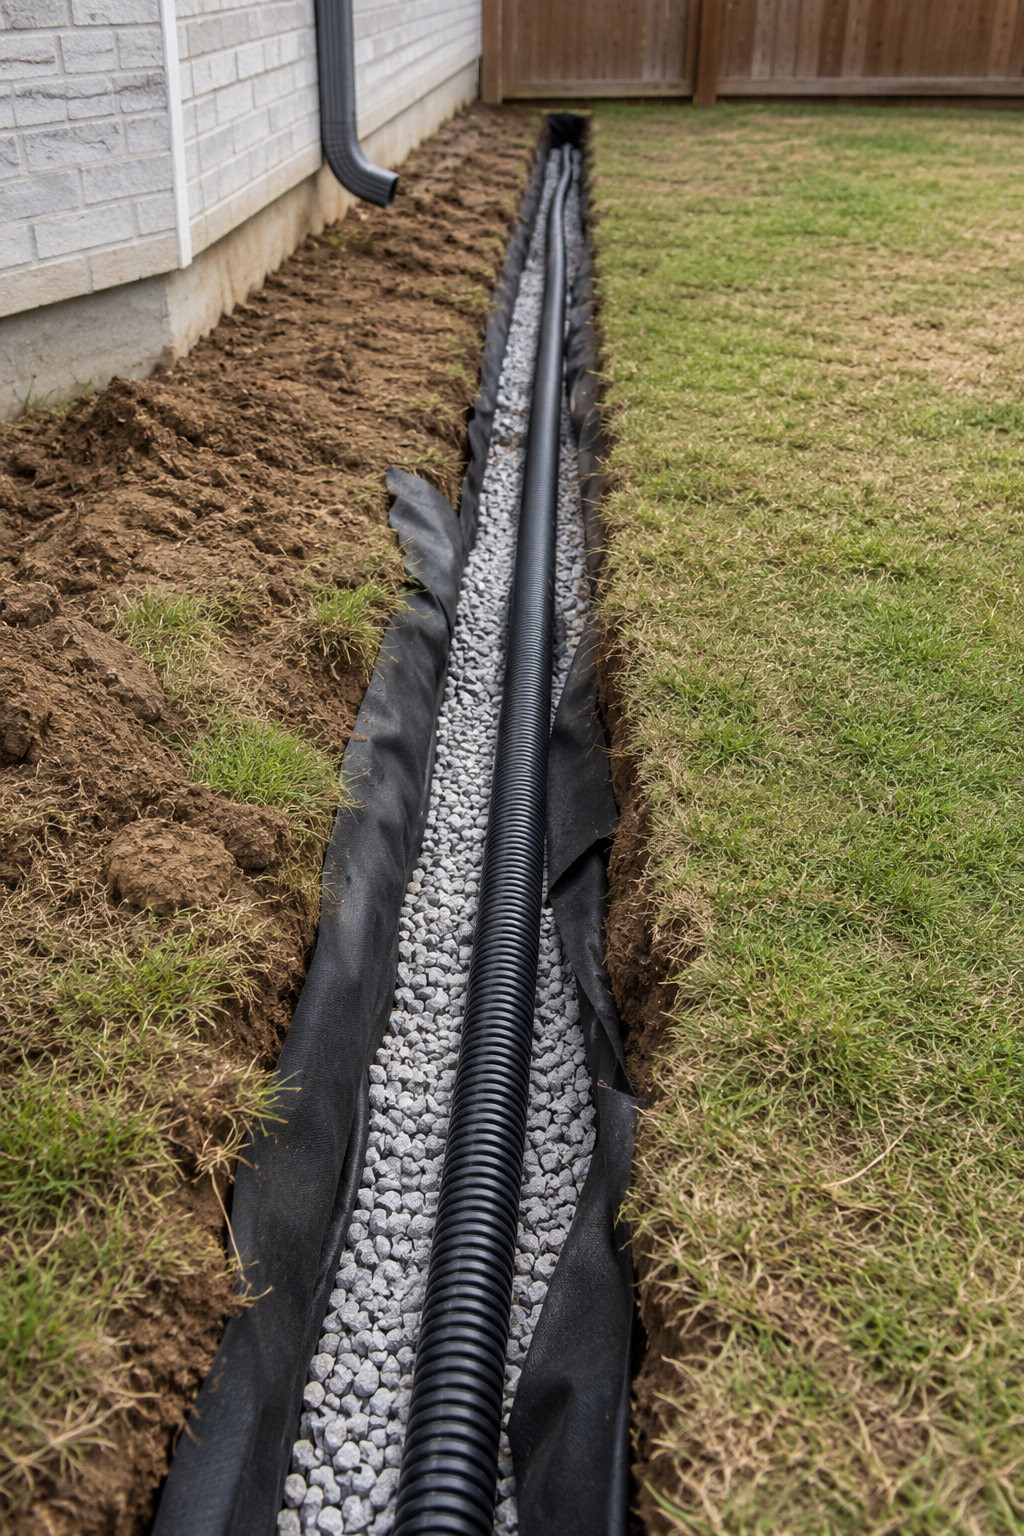
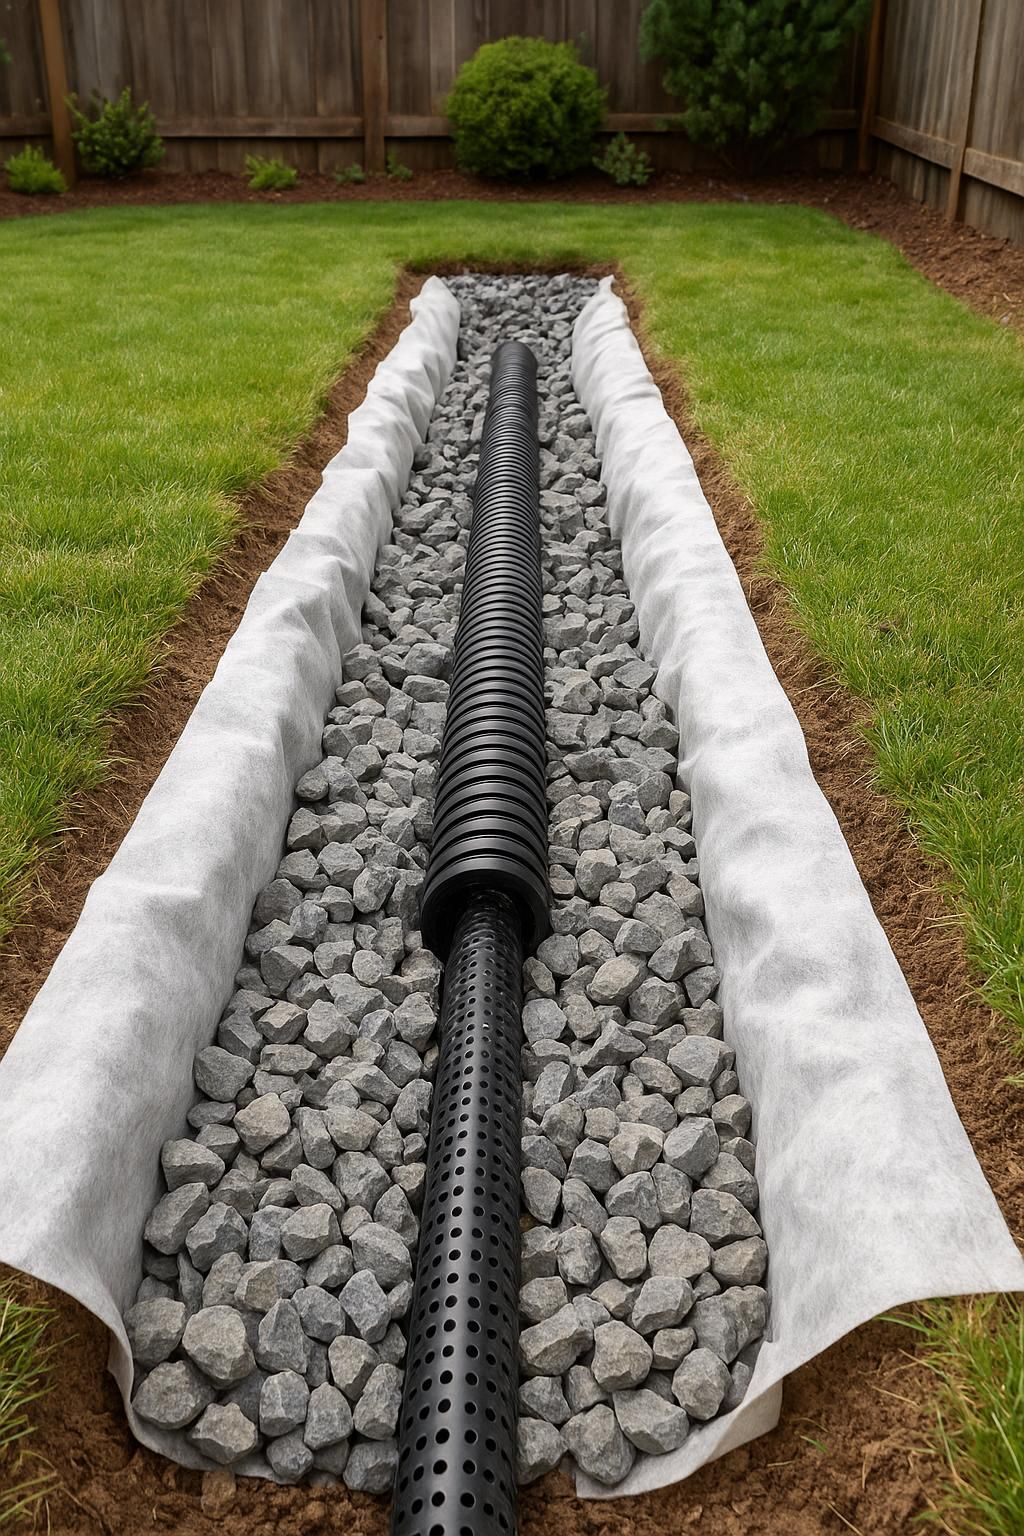
Once you know your yard needs a French drain, the next question is usually what the installation itself looks like — how long it takes, what gets dug up, and what your yard looks like when it's done. Here's what the process actually involves, step by step. 1. Site Assessment and Utility Marking Every installation starts with a walk of the property to confirm where water is collecting, trace where it's coming from, and map out the best path for the drain to carry it away. Before any digging happens, underground utilities on the property have to be located and marked — skipping this step risks hitting a gas, water, or electrical line during trenching. 2. Trenching Along the Planned Path With the path marked, the trench gets dug to the depth and slope needed to move water by gravity toward the discharge point. Getting the slope right matters more than the trench being deep — a French drain with the wrong grade won't drain properly no matter how well the rest of it is built. 3. Lining the Trench and Placing the Pipe The trench gets lined with landscape fabric, which keeps soil and sediment from working their way into the gravel and clogging the system over time. A perforated pipe goes in along the bottom of the trench, oriented so water can enter through the perforations and flow toward the discharge point. 4. Backfilling with Gravel Gravel gets backfilled around and over the pipe, filling the trench and giving water an easy path to travel through instead of sitting in the surrounding soil. The landscape fabric gets folded over the top of the gravel before the trench is closed, to keep the system from filling in with dirt over time. 5. Connecting to a Discharge Point The system has to end somewhere water can actually go — a street, a dry well, or a low point on the property away from the house. A French drain that isn't tied into a real discharge point just moves water a short distance instead of actually solving the problem, so this connection is one of the most important parts of getting it right. 6. Restoring the Yard Once the trench is filled and compacted, any sod or landscaping that was disturbed during digging gets restored as closely as possible to how it looked before. On most residential jobs, the trench line is the only visible trace once the yard is cleaned up and any disturbed grass has a chance to fill back in. How Long It Takes Most straightforward residential French drain installations wrap up within a day or two. Longer runs, systems that have to route around existing landscaping or hardscape, or yards where several problem areas are being tied into one system can take longer. The site assessment is usually where that timeline gets a clearer answer, since it depends on the specific yard. What to Do Before the Crew Arrives Clear the work area of furniture, planters, or anything else near the planned trench path. Point out any sprinkler lines, invisible fence wire, or landscape lighting that might not show up on a utility locate. Expect some disturbed grass or landscaping directly along the trench line — this is normal and typically fills back in or gets reseeded after installation. After Installation Once the trench is closed and the yard is cleaned up, the disturbed area along the trench line is usually the only visible sign work happened — everything else is below the surface. Grass along the trench typically needs a few weeks to fill back in. From that point, the system works continuously below ground any time it rains, without anything for the homeowner to maintain day to day.  Get a French Drain Installation Quote Elite Outdoor Living Solutions installs French drains and full yard drainage systems across Oklahoma City, Edmond, Bethany, Nichols Hills, Norman, Moore, Yukon, and Mustang. Every installation starts with an on-site assessment, so the scope and timeline reflect your actual yard rather than a general estimate. Call (405) 972-8338 or contact us to get started.
August 26, 2026
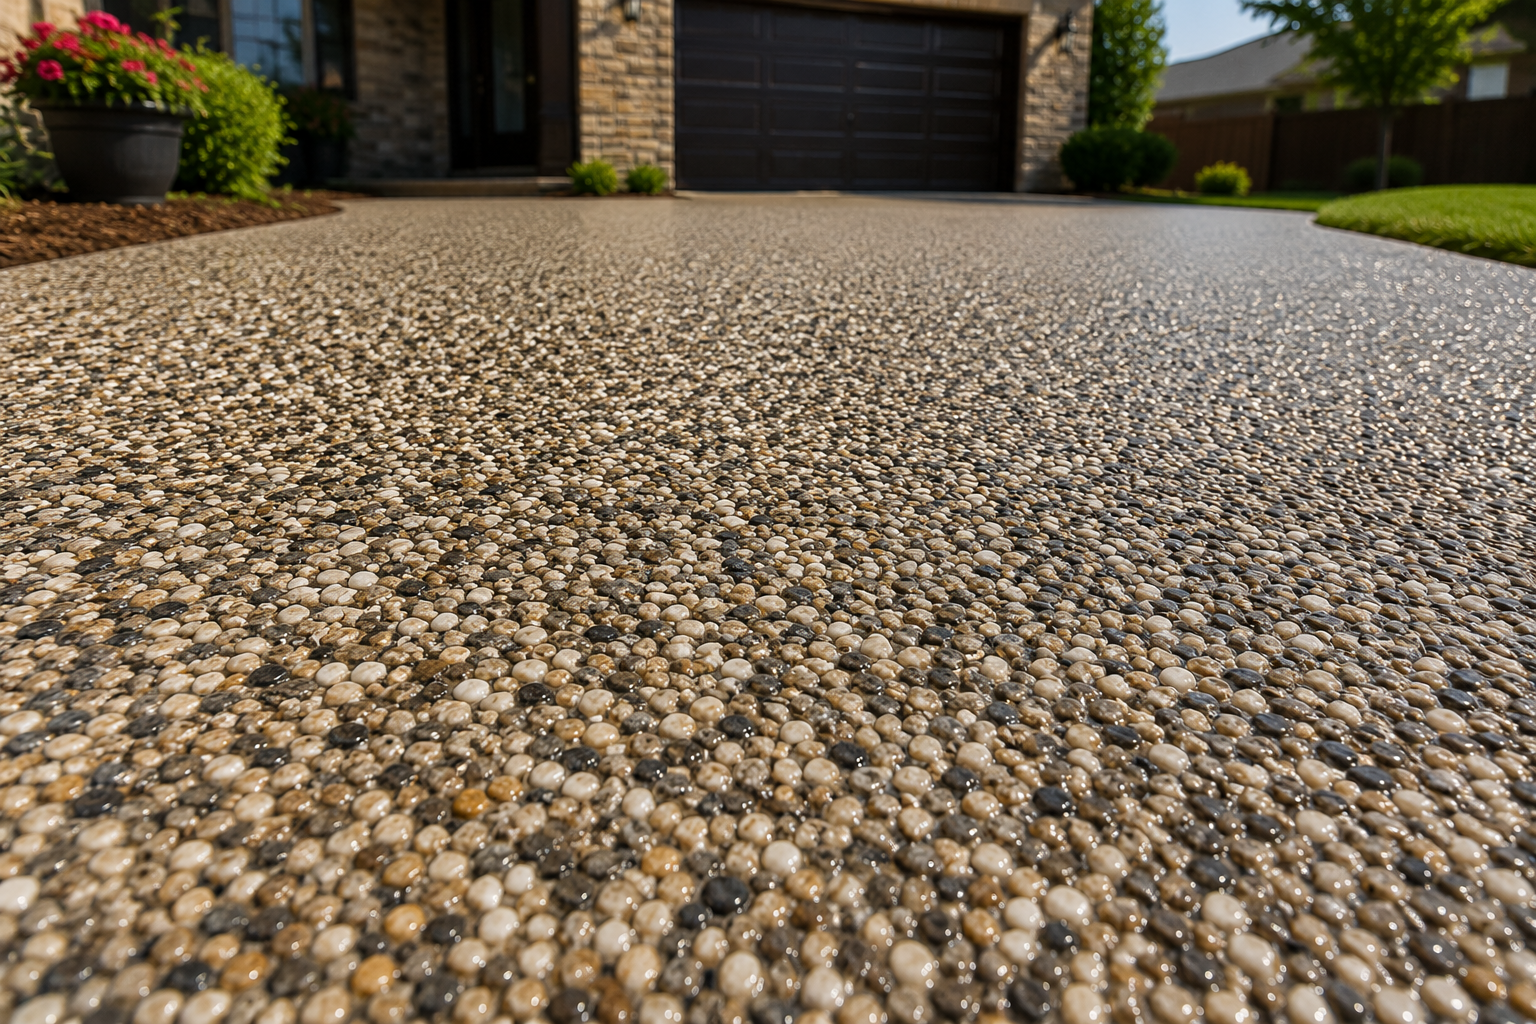
Learn how Vuba Stone lasts 10-15 years in Oklahoma's climate. Contact us for expert installation and durable outdoor solutions!
August 19, 2026
Compare French drains, channel drains, & catch basins for your yard. Choose the right solution today!
August 12, 2026
Plan your inground pool installation with our expert guide. Start early for a smooth build process and enjoy your summer oasis!
August 7, 2026
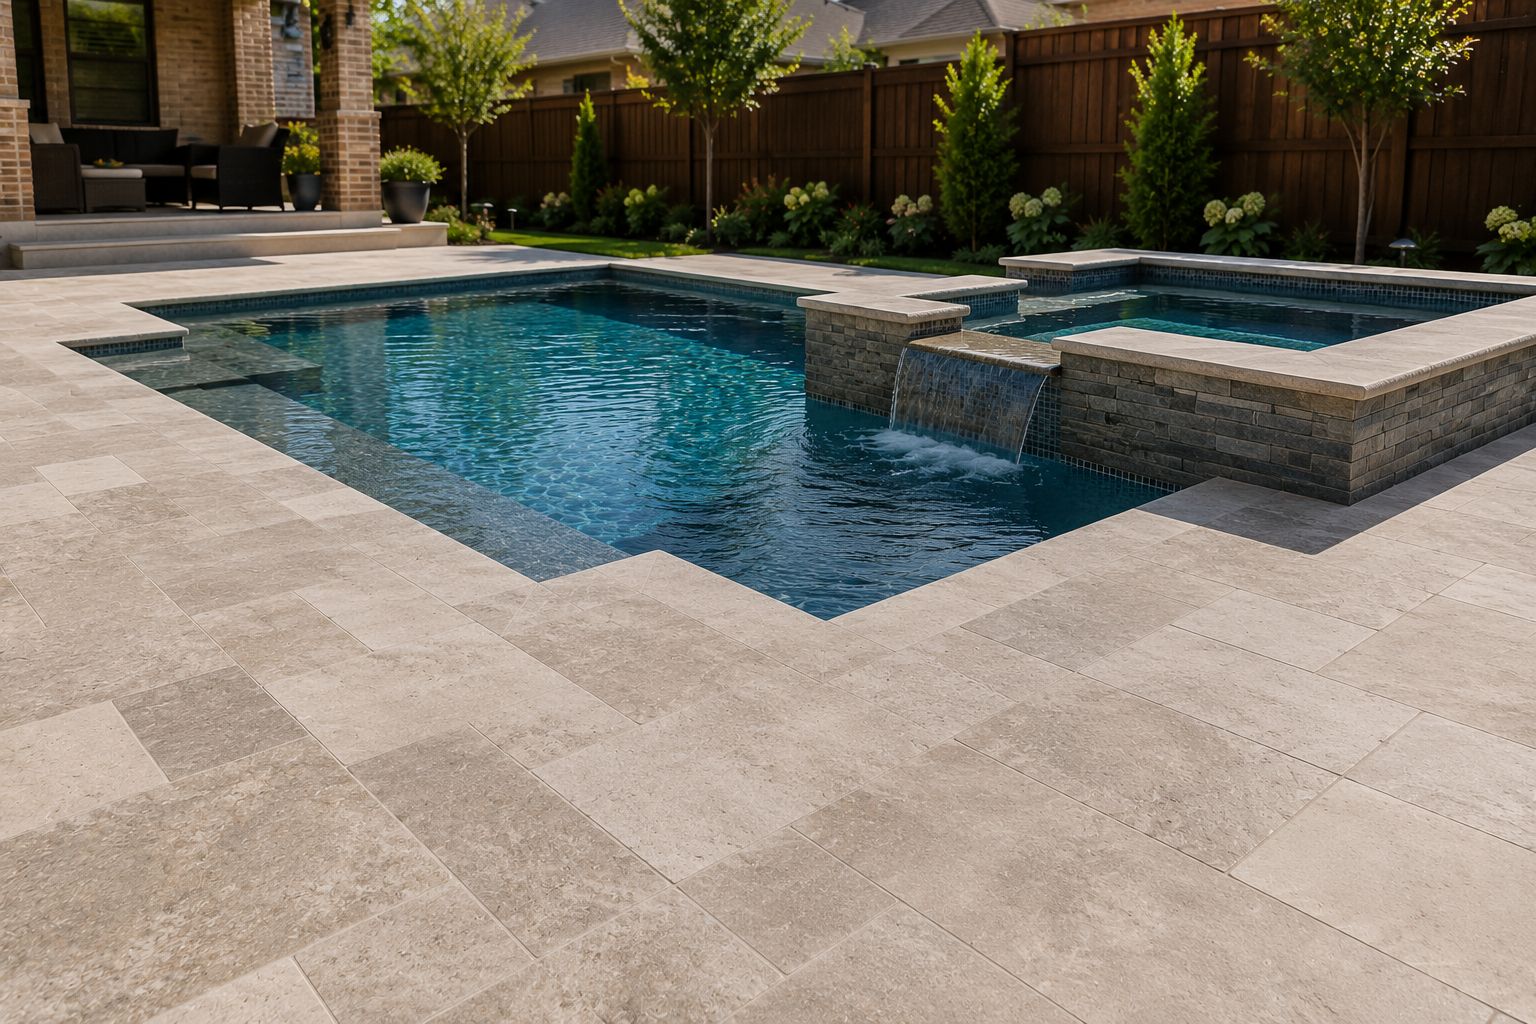
Learn when to repair or resurface your concrete pool deck. Get expert advice today!
July 29, 2026
Ignoring yard drainage can lead to costly damage. Learn about French drains & protect your home. Contact us for tailored solutions!
July 24, 2026
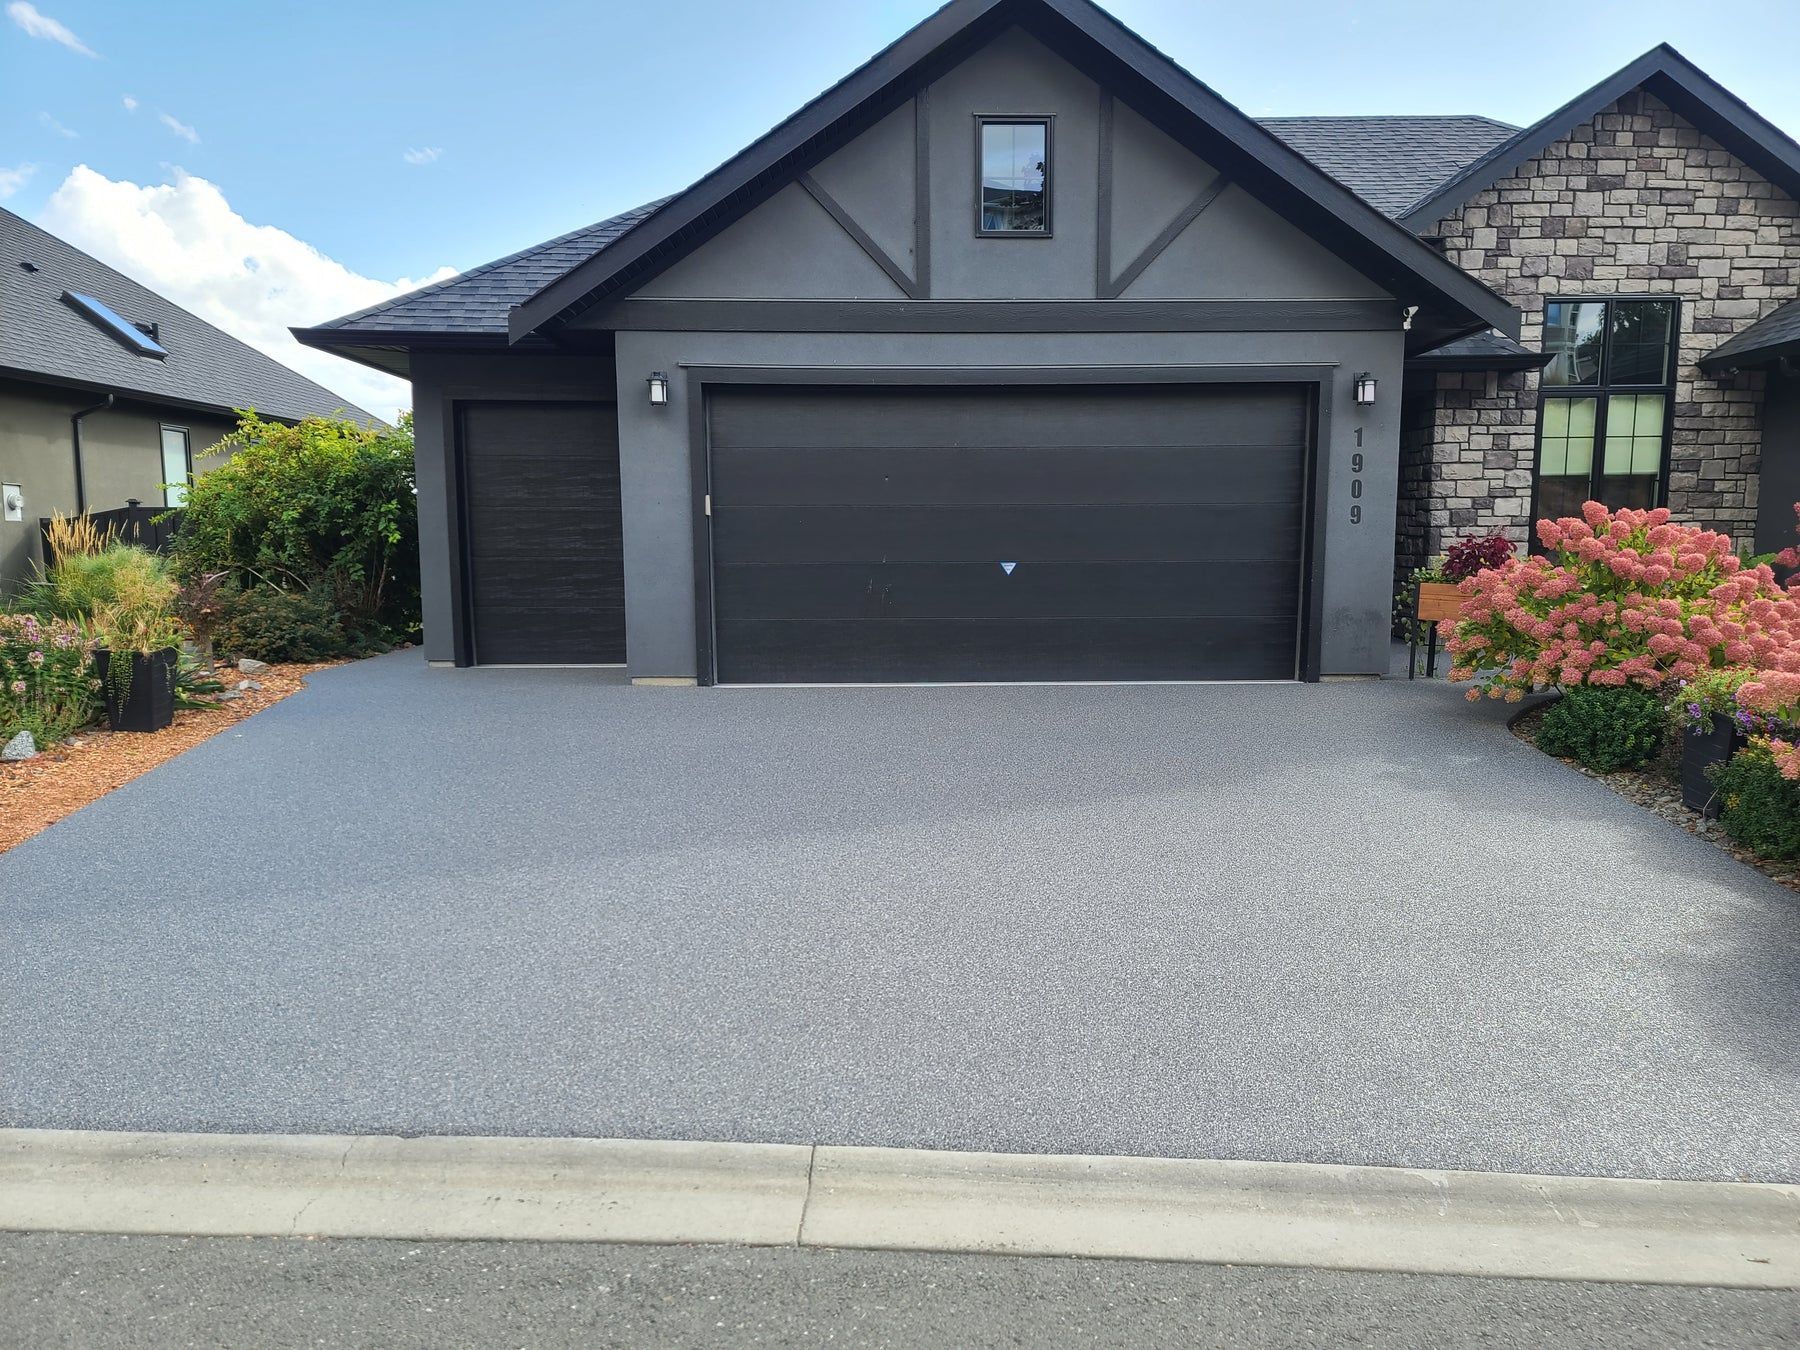
Homeowners in Edmond & Nichols Hills choose resin-bound driveways for durability & style. Contact us for a quote today!