
Efficient Channel Drain Installation for Water Management Solutions

March 14, 2025

Heavy rain, overflowing gutters, puddles on the patio—you’ve probably seen what poor drainage does to a home’s exterior. Water settles, surfaces stain, concrete cracks, and before long, what looked great starts falling apart.


But here's the truth most contractors won’t tell you upfront: good water management starts with the layout, not after the fact. That’s where channel drains come in.
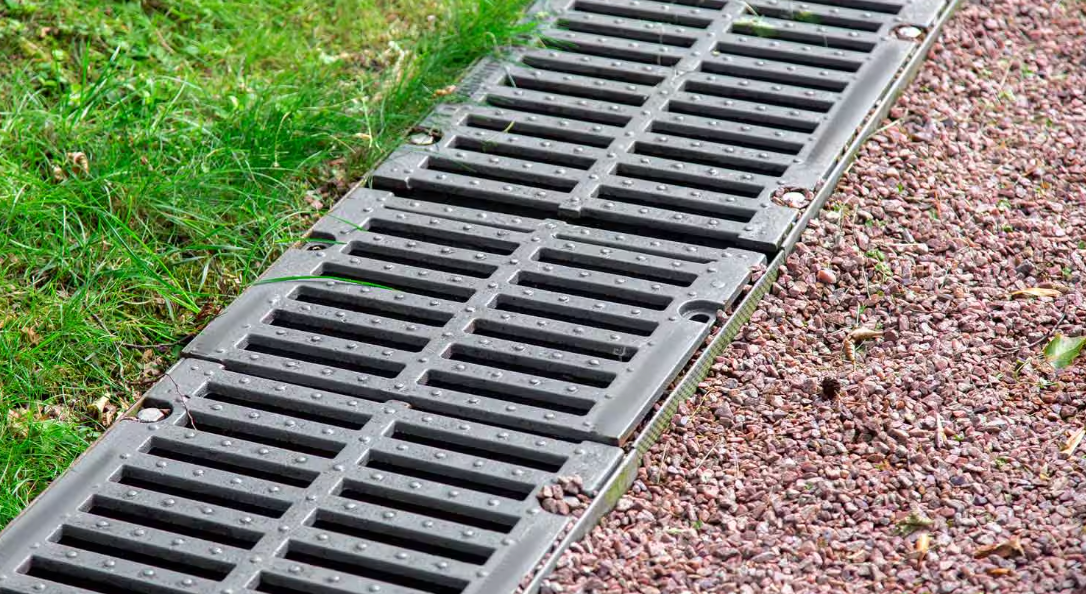
  • Channel drain installed by Elite Outdoor Living Solutions in Oklahoma

    Slide title

    Write your caption here
    Button

Channel drains are the unsung heroes of outdoor living spaces. When installed right, they keep patios, pool decks, driveways, and walkways safe, dry, and long-lasting.


This article breaks down how channel drains work, where to install them, why stamped or decorative concrete projects need them, and how to avoid common mistakes. If you care about protecting your investment, this is worth the read.

What Is a Channel Drain?

A channel drain (also known as a trench drain) is a long, narrow drain installed into hard surfaces like concrete or pavers. It collects surface water and carries it away through underground pipes to a designated drainage area—like a pop-up emitter, swale, dry well, or storm sewer.


The goal is simple: get water off the surface fast before it causes damage.


You’ll usually see channel drains along:


  • Driveways
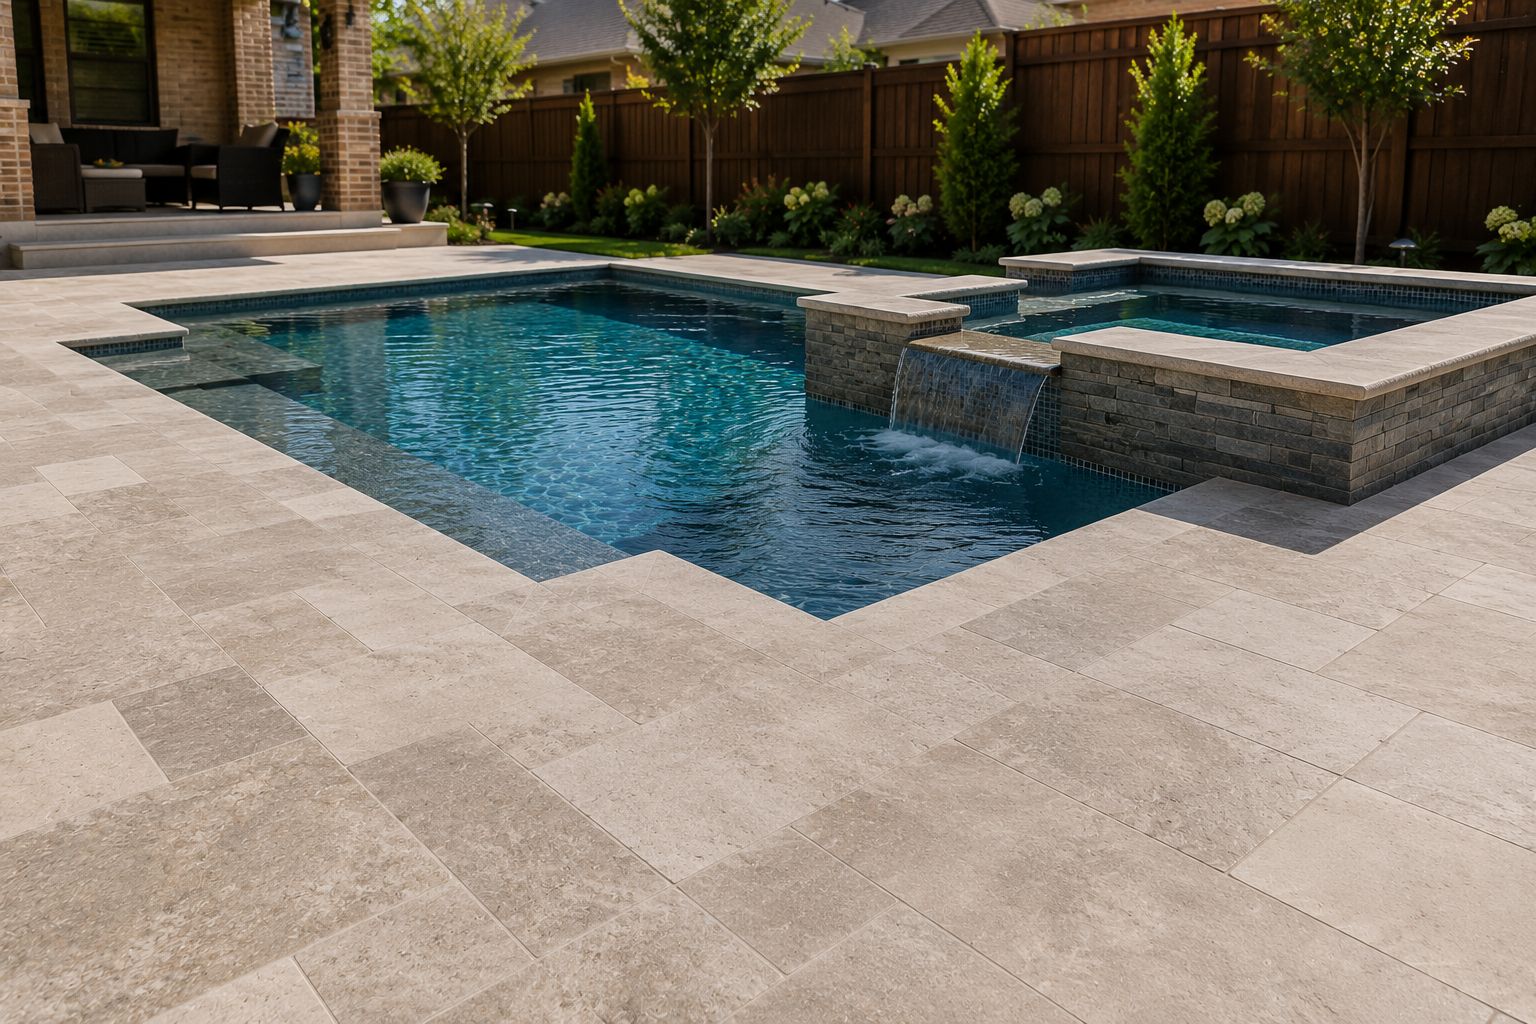
  • Pool decks
  • Patios
  • Walkways
  • Garage entrances
  • Retaining walls or slope transitions

Unlike spot drains, which only pull water from a single point, channel drains catch water across a wide area, making them ideal for flat surfaces or spots where water tends to collect.

Why Proper Drainage Matters

Ignoring drainage is one of the fastest ways to ruin even the nicest hardscape.


Here’s what poor drainage causes:


  • Standing water that stains surfaces and attracts pests
  • Slippery patios and walkways that become dangerous
  • Erosion around edges that leads to uneven settling
  • Cracks in concrete from freeze/thaw cycles or waterlogged soil
  • Foundation issues if runoff moves toward the house

You can spend thousands on a stamped concrete patio or pool deck, but if you don’t manage the water, you’ll be fixing or replacing it far sooner than you planned.

When to Install a Channel Drain

The best time to install a channel drain is before concrete is poured or pavers are laid. It needs to be part of the site prep—not an afterthought.


Here are a few signs your project needs one:


  • The surface is larger than 400 square feet and mostly flat
  • Your yard has poor natural drainage or heavy clay soil
  • You're installing concrete next to a structure or slope
  • You live in a region with frequent or heavy rainfall
  • You notice puddles on existing hardscapes during storms

If you’re not sure, a reputable contractor should assess your slope, runoff paths, and soil type before recommending a drainage solution.

How Channel Drain Installation Works

Installing a channel drain is technical but straightforward when done by pros. Here’s what the process looks like:

1. Planning the Slope

The entire surface—whether it’s a driveway, patio, or pool deck—needs to slope slightly toward the drain. A 1–2% grade is typical. This allows gravity to do the work.

2. Excavating and Forming the Trench

Before pouring concrete or laying pavers, the crew cuts a trench the length of the drain and sets the drain body in place. This includes checking elevation and outlet connection points.

3. Connecting the Drainage Line

The channel connects to underground piping that moves water to the outlet of your choice. This could be a dry well, storm drain, or pop-up emitter.

4. Securing the Channel and Pouring Concrete

Once the drain body is level and in position, concrete is poured around it, embedding it into the surface. If the surface is stamped or decorative, the drain is blended into the design.

5. Installing the Grate

After curing, the final grate is placed. These come in stainless steel, cast iron, plastic, or decorative designs to match your project.

Best Materials and Grate Options

Choosing the right grate matters—not just for looks, but also for durability and safety.


Popular materials include:


  • Stainless Steel: Rust-resistant, modern appearance, durable in all climates
  • Ductile Iron: Super strong, good for driveways or vehicle traffic
  • Decorative Cast Aluminum: Great for upscale patios and pool decks
  • Heavy-Duty Plastic (HDPE): Affordable and UV-resistant, good for walkways or light traffic

Look for grates that are ADA-compliant if the space is public or needs to be walker/wheelchair-friendly.

Common Mistakes to Avoid

1. Poor Slope Planning

 If the surrounding surface doesn’t slope toward the drain, it won’t work. Period. This has to be calculated before the pour.

2. Using the Wrong Drain Type

Don’t use residential-grade plastic in a driveway that sees heavy trucks. It’ll crack or sink. Always match the drain system to the load rating required.

3. Not Connecting to a Proper Outlet

 A channel drain is only as good as where it sends the water. If it dumps water into a low spot in your yard, the problem’s just moved.

4. Skipping Maintenance

Over time, debris, leaves, and dirt can clog the channel. Grates should be removable, and the system should be flushed yearly for peak performance.

Channel Drains with Stamped Concrete and Pavers

Good news: channel drains don’t have to ruin the look of your stamped concrete or paver patio.


In fact, they can be worked into the pattern or layout so they blend in seamlessly.


  • Use narrow linear grates in the same tone as the stamped surface
  • Cut joints to direct water toward the drain naturally
  • For pavers, use edge restraints to keep drain lines straight and secure

A skilled contractor can even align the channel drain with grout lines, so it disappears into the design.

Long-Term Benefits

Investing in proper drainage pays off. With a professionally installed channel drain, you’ll get:


  • Fewer repairs to concrete or hardscape
  • Safer, drier walkways and patios
  • No water pooling around foundations or structures
  • Less erosion or shifting of pavers

Peace of mind when the rain hits

Final Thoughts

Don’t treat drainage like an afterthought—it’s part of the foundation of any good outdoor space. Whether you’re installing a new stamped concrete patio or upgrading an old driveway, a well-designed channel drain system will protect your investment for years to come.


Elite Outdoor Living Solutions offers professional drainage planning and channel drain installation for high-end patios, driveways, pool decks, and more. We work with builders, designers, and homeowners to ensure every project looks great—and functions like it should.


Get in touch today to learn how we can help design a water-smart solution for your outdoor space.
September 16, 2026
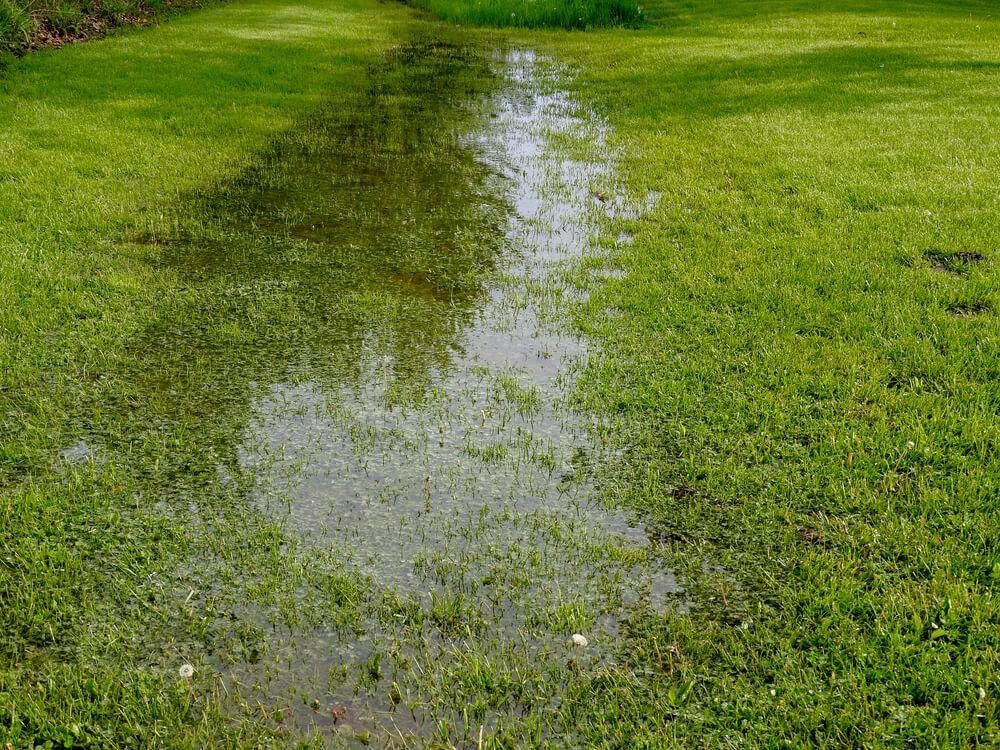
A French drain isn't a set-it-and-forget-it system forever. Pipes clog, gravel beds compact and fill with silt, and systems installed without the right slope or outlet stop working long before most homeowners notice — usually right around the time a big storm reveals the problem. Standing Water Returns Where It Used to Drain The clearest sign is the most obvious one: an area that used to stay dry after rain is pooling again. This almost always means the pipe is clogged with silt or debris, the gravel bed has compacted and lost its ability to move water, or the outlet the drain empties into is blocked. Soggy Ground Directly Over the Drain Line If the ground along the drain's path stays wet or spongy longer than the surrounding yard, water is likely surfacing along the trench instead of moving through the pipe as intended. This can mean the pipe has collapsed, shifted, or was installed without enough slope to keep water moving toward the outlet. Water Near the Foundation Despite Having a Drain If a French drain was installed specifically to protect your foundation and you're still seeing moisture in the basement or along the foundation wall, the system either isn't intercepting water before it reaches that zone, or the original installation wasn't deep enough or positioned correctly relative to the foundation. What Repair Actually Involves Fixing a failed French drain starts with locating the failure point — usually by excavating a section to inspect the pipe and gravel condition, or using a camera scope for longer runs. Depending on what we find, repair can mean flushing and clearing debris, replacing a collapsed or damaged section of pipe, adding gravel back where it's compacted, or in some cases, re-routing the system entirely if the original slope or outlet was never correct to begin with. When It's Time to Replace Rather Than Repair A French drain installed without proper fabric wrapping around the gravel bed will silt up repeatedly no matter how many times it's cleared, since the root cause — soil migrating into the gravel — was never addressed. In these cases, a full reinstall with the correct materials is more cost-effective long-term than repeated cleanouts.  Get Your Drainage System Inspected If your French drain isn't performing the way it used to, Elite Outdoor Living Solutions inspects and repairs yard drainage systems across Oklahoma City, Edmond, Norman, Moore, and Yukon. Call (405) 972-8338 or contact us for a free assessment.
September 9, 2026
The body content of your post goes here. To edit this text, click on it and delete this default text and start typing your own or paste your own from a different source.
September 2, 2026
Ask the right questions before hiring a pool builder. Ensure a smooth project and avoid hidden costs. Contact us for expert guidance!
September 1, 2026
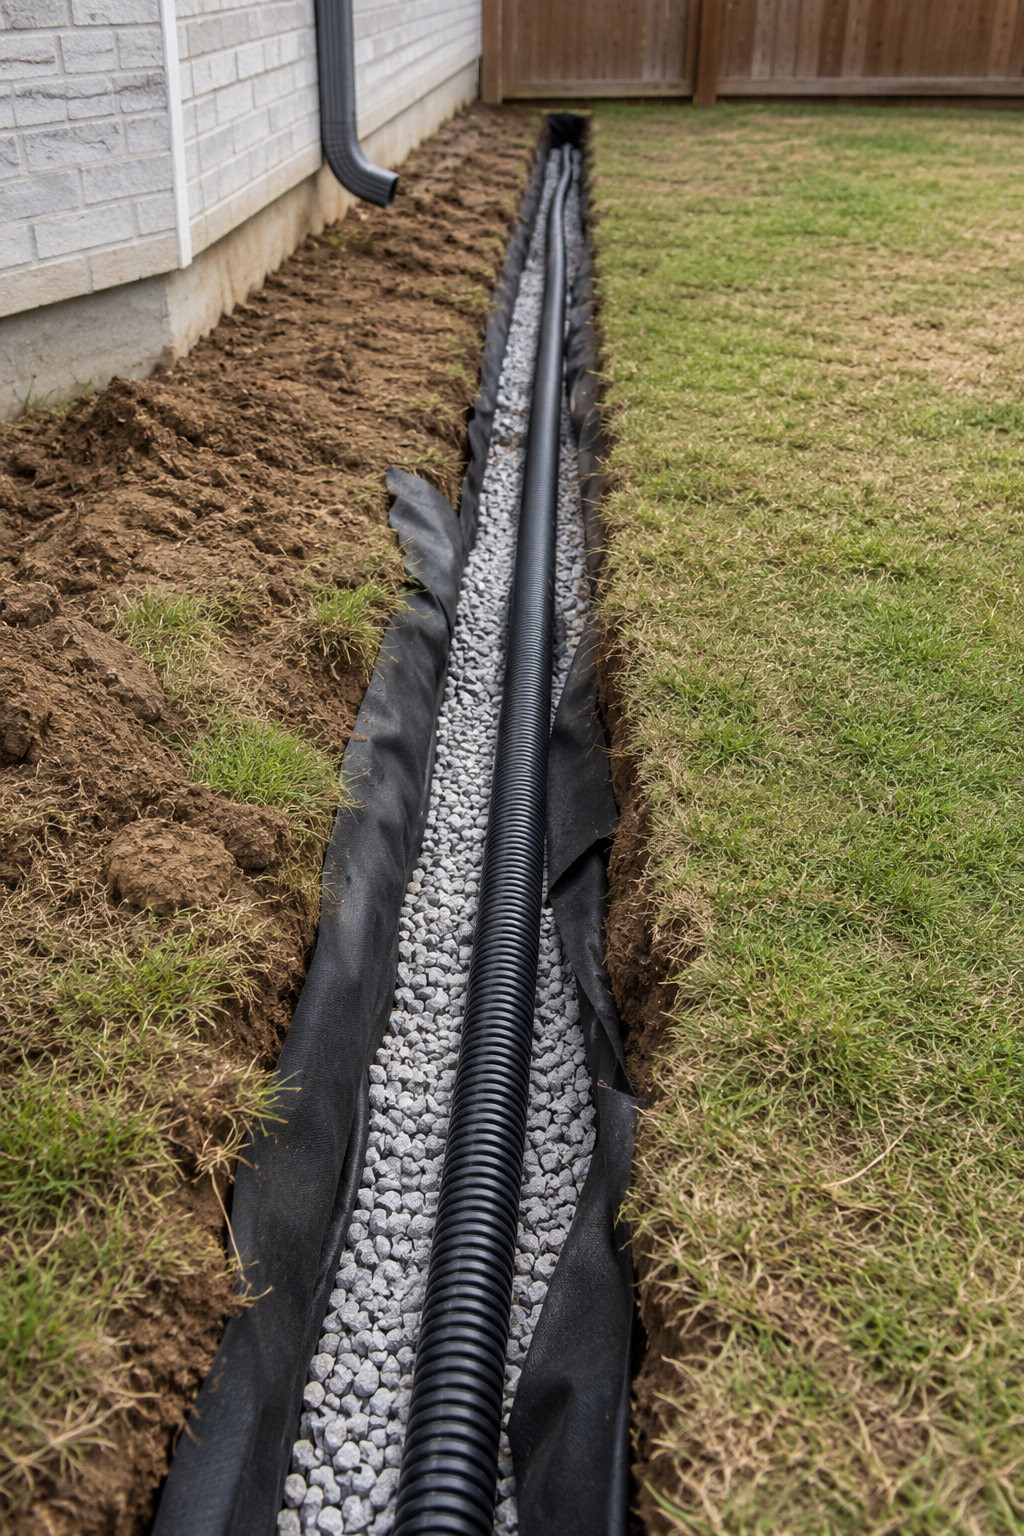
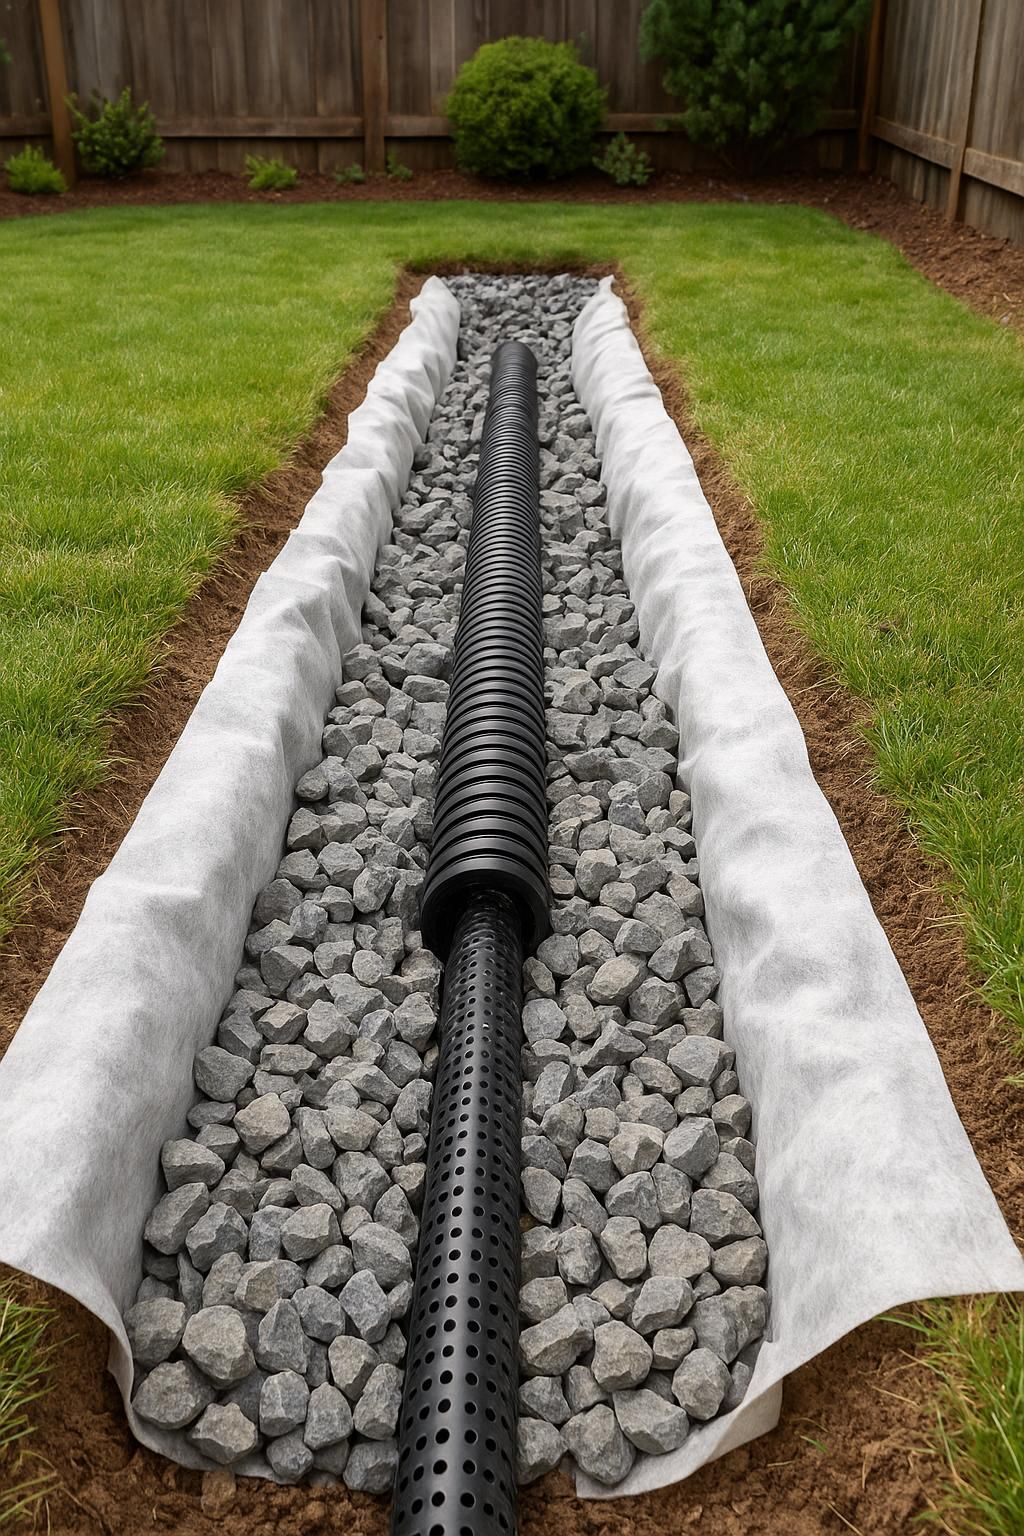
Once you know your yard needs a French drain, the next question is usually what the installation itself looks like — how long it takes, what gets dug up, and what your yard looks like when it's done. Here's what the process actually involves, step by step. 1. Site Assessment and Utility Marking Every installation starts with a walk of the property to confirm where water is collecting, trace where it's coming from, and map out the best path for the drain to carry it away. Before any digging happens, underground utilities on the property have to be located and marked — skipping this step risks hitting a gas, water, or electrical line during trenching. 2. Trenching Along the Planned Path With the path marked, the trench gets dug to the depth and slope needed to move water by gravity toward the discharge point. Getting the slope right matters more than the trench being deep — a French drain with the wrong grade won't drain properly no matter how well the rest of it is built. 3. Lining the Trench and Placing the Pipe The trench gets lined with landscape fabric, which keeps soil and sediment from working their way into the gravel and clogging the system over time. A perforated pipe goes in along the bottom of the trench, oriented so water can enter through the perforations and flow toward the discharge point. 4. Backfilling with Gravel Gravel gets backfilled around and over the pipe, filling the trench and giving water an easy path to travel through instead of sitting in the surrounding soil. The landscape fabric gets folded over the top of the gravel before the trench is closed, to keep the system from filling in with dirt over time. 5. Connecting to a Discharge Point The system has to end somewhere water can actually go — a street, a dry well, or a low point on the property away from the house. A French drain that isn't tied into a real discharge point just moves water a short distance instead of actually solving the problem, so this connection is one of the most important parts of getting it right. 6. Restoring the Yard Once the trench is filled and compacted, any sod or landscaping that was disturbed during digging gets restored as closely as possible to how it looked before. On most residential jobs, the trench line is the only visible trace once the yard is cleaned up and any disturbed grass has a chance to fill back in. How Long It Takes Most straightforward residential French drain installations wrap up within a day or two. Longer runs, systems that have to route around existing landscaping or hardscape, or yards where several problem areas are being tied into one system can take longer. The site assessment is usually where that timeline gets a clearer answer, since it depends on the specific yard. What to Do Before the Crew Arrives Clear the work area of furniture, planters, or anything else near the planned trench path. Point out any sprinkler lines, invisible fence wire, or landscape lighting that might not show up on a utility locate. Expect some disturbed grass or landscaping directly along the trench line — this is normal and typically fills back in or gets reseeded after installation. After Installation Once the trench is closed and the yard is cleaned up, the disturbed area along the trench line is usually the only visible sign work happened — everything else is below the surface. Grass along the trench typically needs a few weeks to fill back in. From that point, the system works continuously below ground any time it rains, without anything for the homeowner to maintain day to day.  Get a French Drain Installation Quote Elite Outdoor Living Solutions installs French drains and full yard drainage systems across Oklahoma City, Edmond, Bethany, Nichols Hills, Norman, Moore, Yukon, and Mustang. Every installation starts with an on-site assessment, so the scope and timeline reflect your actual yard rather than a general estimate. Call (405) 972-8338 or contact us to get started.
August 26, 2026
Learn how Vuba Stone lasts 10-15 years in Oklahoma's climate. Contact us for expert installation and durable outdoor solutions!
August 19, 2026
Compare French drains, channel drains, & catch basins for your yard. Choose the right solution today!
August 12, 2026
Plan your inground pool installation with our expert guide. Start early for a smooth build process and enjoy your summer oasis!
August 7, 2026
Learn when to repair or resurface your concrete pool deck. Get expert advice today!
July 29, 2026
Ignoring yard drainage can lead to costly damage. Learn about French drains & protect your home. Contact us for tailored solutions!
July 24, 2026
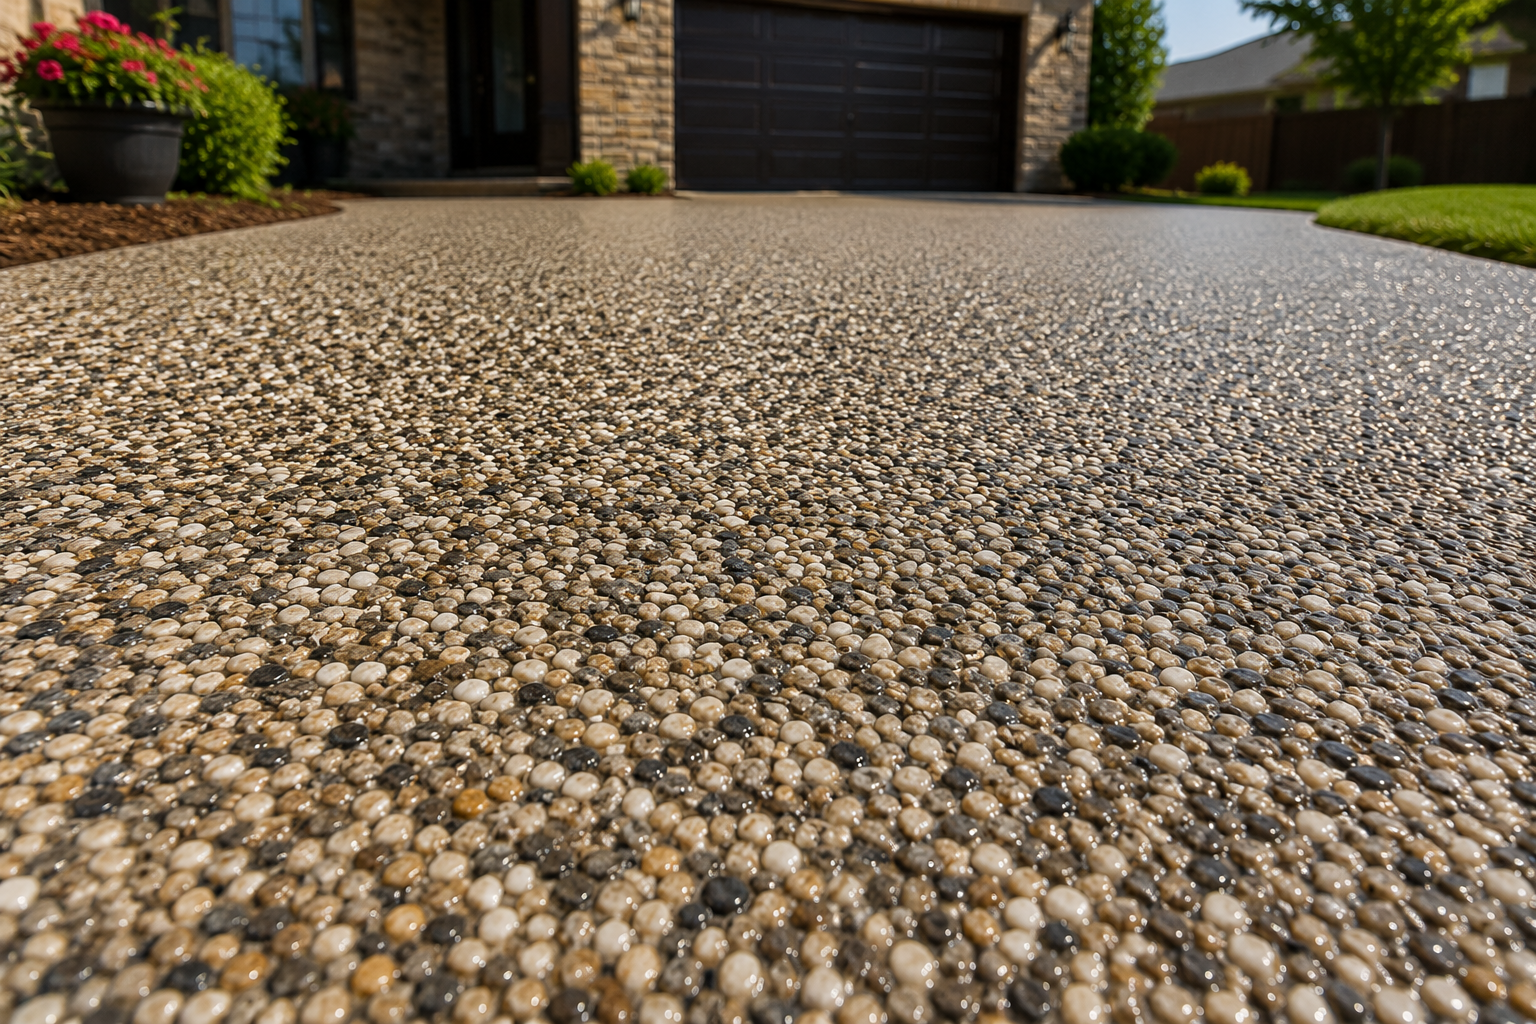
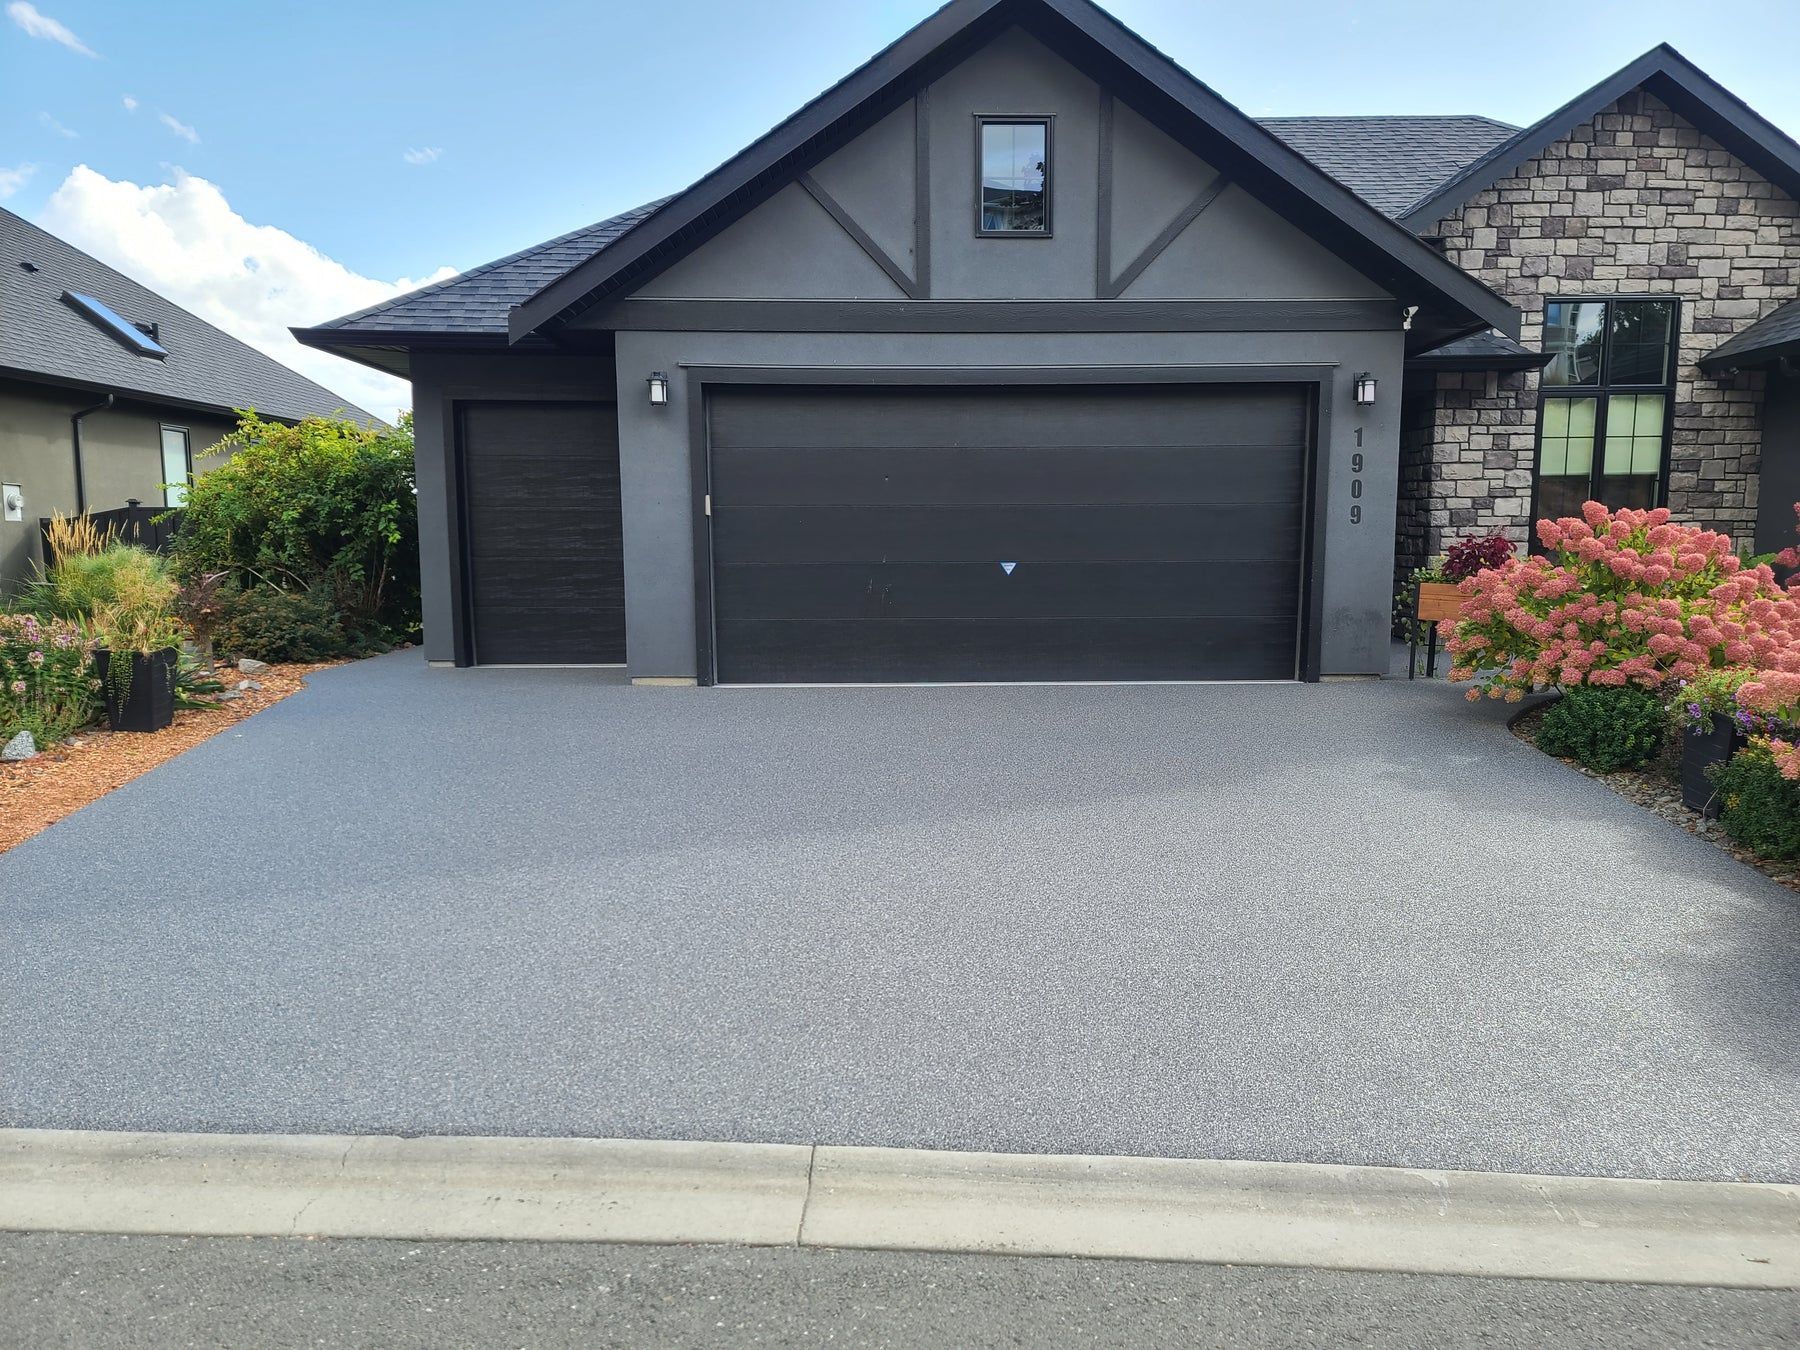
Homeowners in Edmond & Nichols Hills choose resin-bound driveways for durability & style. Contact us for a quote today!