
Custom Concrete Driveway Services for High-End Clients
March 28, 2025
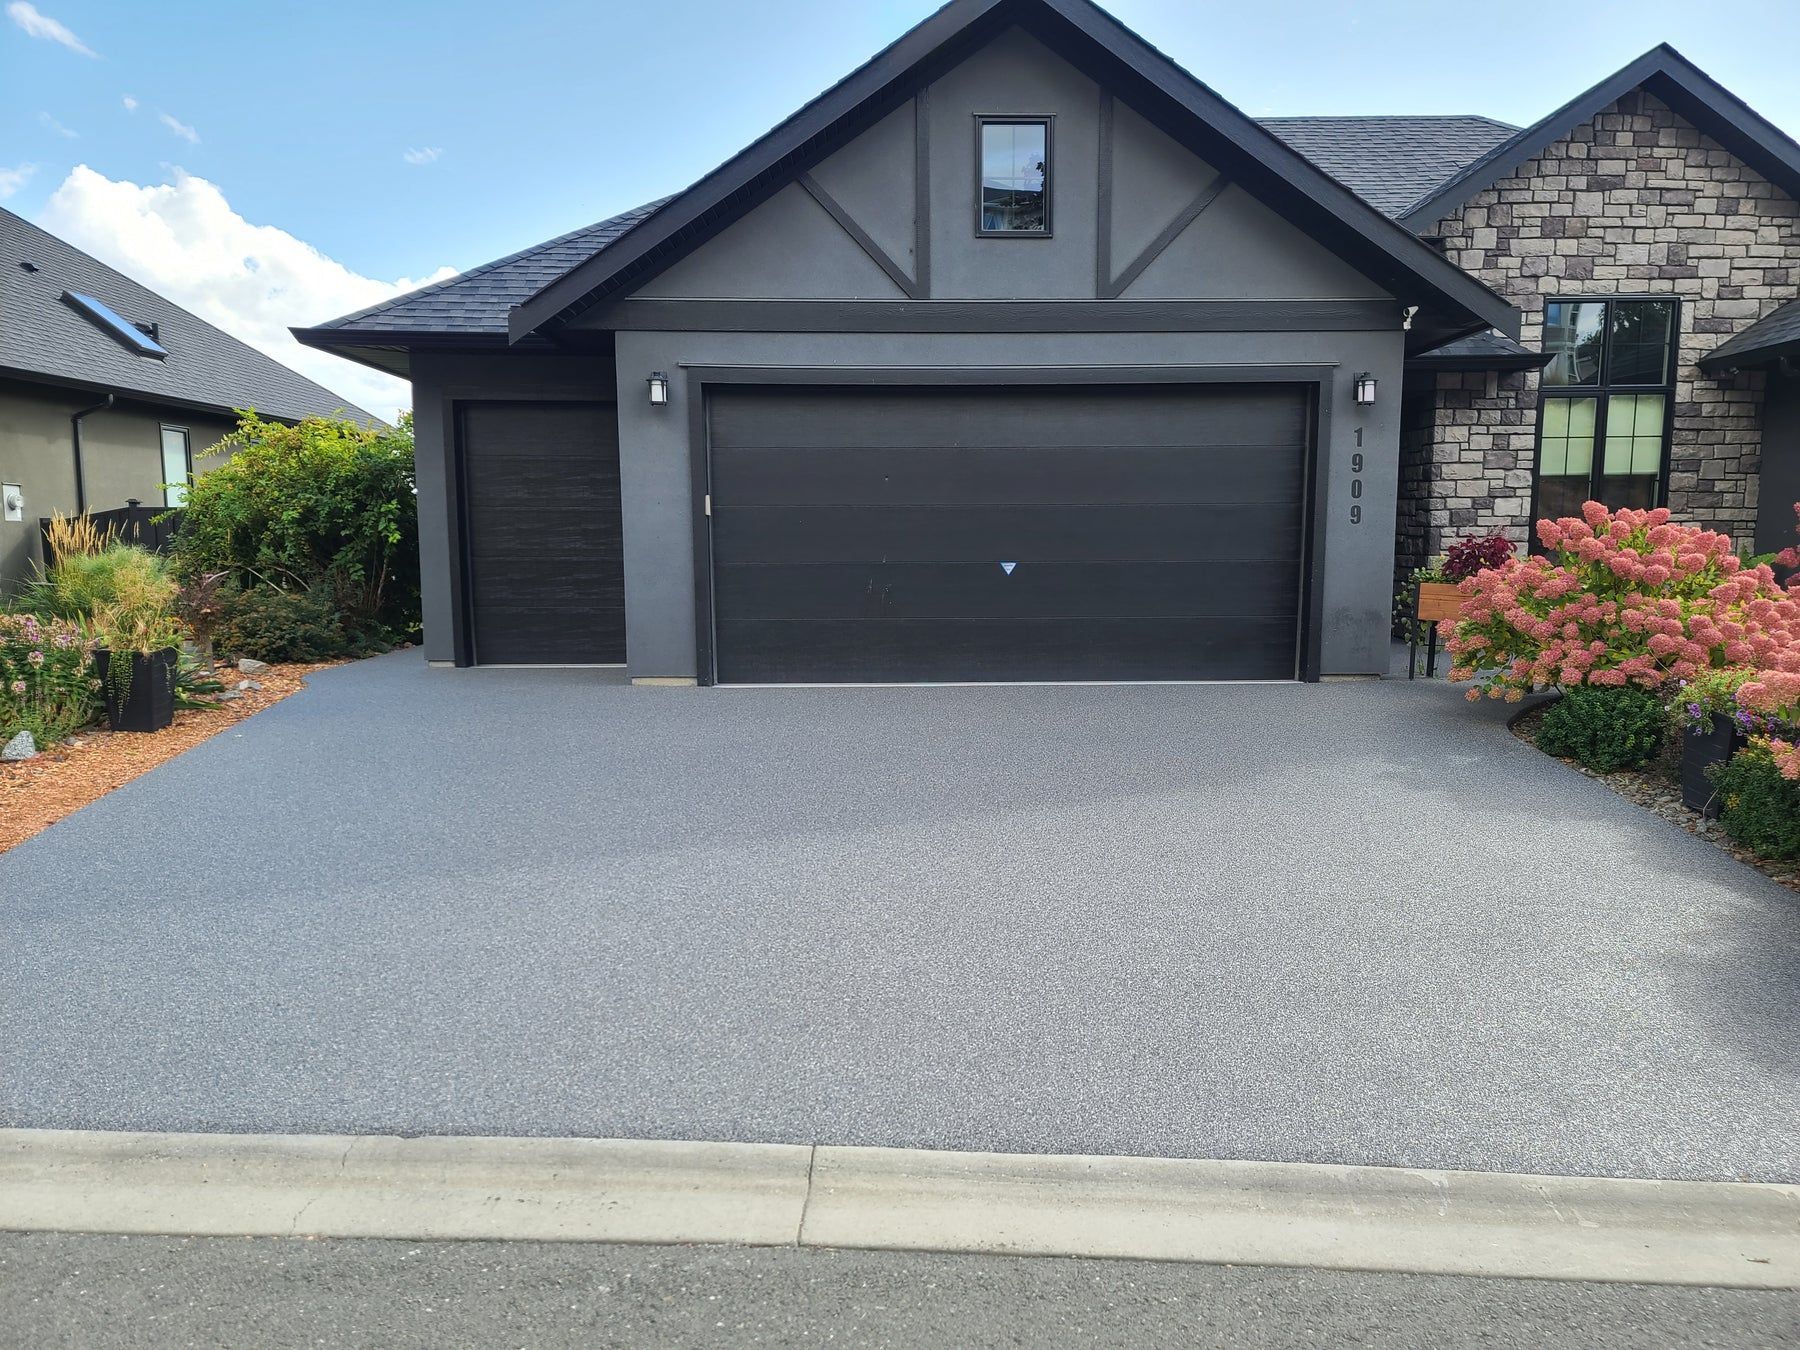
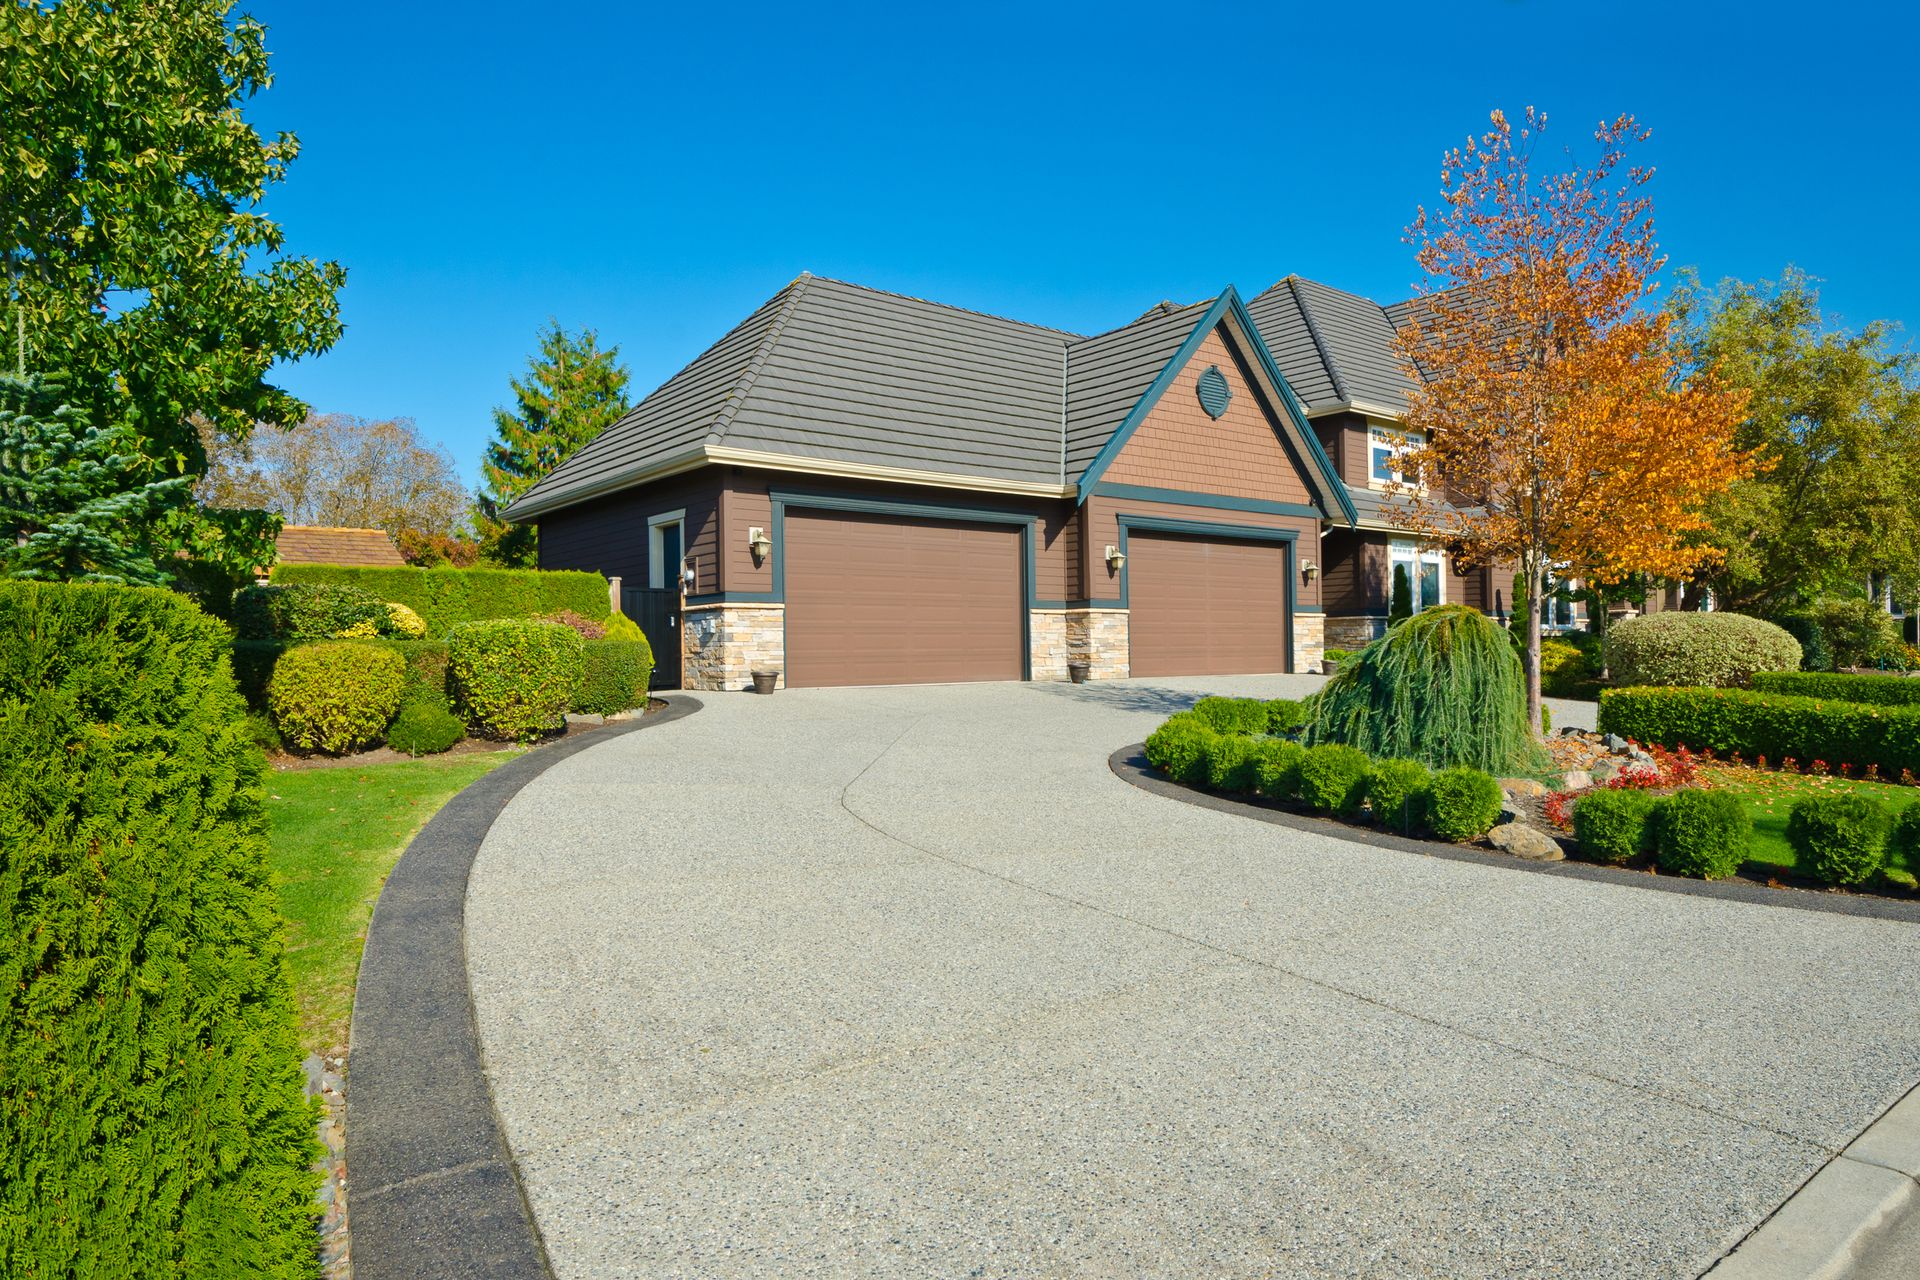
  • Freshly sealed concrete driveway with dark border installed by Elite in Nichols Hills, OK, for clean water flow and appeal.

    Slide title

    Write your caption here
    Button


If you’re building or upgrading a high-end home, the driveway isn’t just a place to park—it’s the first thing people see. And whether you’re pulling up in a luxury SUV or hosting a backyard party, that first impression matters.

Standard broom-finished concrete doesn’t cut it anymore. Cracking slabs, mismatched repairs, and plain gray surfaces do nothing for your curb—or resale—value.


You want something that fits your home, your taste, and your expectations. That’s where custom concrete driveway services come in. From layout and design to texture, stain, and seal, every detail is tailored to elevate the appearance and performance of your property.


In this post, we’ll show you what’s possible—and what to watch out for—when investing in a premium concrete driveway.

Why High-End Homes Deserve a Custom Driveway

A driveway is more than a functional surface. It’s part of the architecture. For custom homes or properties in luxury neighborhoods, a basic driveway can bring down the entire look.


Here’s why discerning homeowners go custom:


  • Design Consistency: Matches the style and color of the home
  • Durability: Built to withstand traffic, weather, and time
  • Unique Texture & Finish: From stamped stone looks to polished modern slabs
  • Boosted Property Value: An attractive driveway adds market appeal
  • Low Maintenance: Custom finishes resist staining, cracking, and erosion

A custom concrete driveway sends the message that every detail of your home is intentional—even the approach.

Design Options for Custom Concrete Driveways

Custom doesn’t just mean “not gray.” It means getting a driveway that complements your home’s architecture, color palette, and layout.


Here are some standout options for high-end installations:

1. Stamped Concrete Driveways

Mimics the look of natural stone, brick, or even wood. Great for Mediterranean, traditional, or rustic homes. Multiple patterns and stains available.

2. Exposed Aggregate

Pea gravel or decorative stone is revealed through a light surface wash, adding texture and traction. Works well with modern or coastal homes.

3. Colored and Stained Concrete

Custom stains can match trim, roofing, or even landscaping. Acid-based stains create a marbled look. Water-based stains offer vibrant, uniform color.

4. Smooth or Polished Finish

Sleek and minimal, ideal for modern and contemporary architecture. Requires proper sealing and grading for safety.

5. Bordered or Banded Designs

Add contrast with stamped or stained borders. Helps define the space and frames the driveway like a finished design element.

Layout Considerations for Function & Style

The shape and size of your driveway play a huge role in both looks and convenience. For larger homes or estate properties, function and style go hand-in-hand.


Options include:


  • Circular Driveways: Ideal for larger lots or formal entries

  • Side Load Driveways: Keeps vehicles out of view from the front
  • Extra Wide Pads: For car collectors or frequent guests
  • Integrated Walkways: Create flow from driveway to front entrance or garage
  • Drainage Planning: Built-in channel drains and slopes to avoid puddling and runoff

It’s not just concrete—it’s concrete with purpose, designed around your lifestyle and your home.

What Sets a Custom Driveway Apart

Here’s what makes a custom driveway different from a basic pour:

Feature Standard Driveway Custom Driveway
Finish Basic broom Stamped, stained, exposed aggregate
Layout Straight slab Curved, circular, or integrated with landscaping
Reinforcement Basic rebar or mesh Rebar + fiber + subgrade prep
Sealing Optional or skipped Professionally sealed for protection
Design Input None Homeowner and designer collaboration

This isn’t just about concrete—it’s about craftsmanship, attention to detail, and understanding what upscale clients expect.

Mistakes to Avoid with Luxury Concrete Driveways

Even a high-end material can look cheap if it’s not installed right. Here’s what to watch out for:


  • Bad slope or drainage: Water should move away from the house—not toward the garage or front door
  • Uneven coloring: Inconsistent stain application or poorly mixed batches stand out
  • Thin slabs: Premium driveways need 4"–6" concrete with strong base prep, not bare dirt
  • Poor control joint layout: Cracks are inevitable—but ugly ones can be avoided with smart joint placement
  • Unsealed or low-quality sealer: A good driveway sealer protects against tire marks, oil stains, UV rays, and freeze-thaw damage

This is why choosing the right contractor matters—especially on homes where there’s no room for shortcuts.

How Long Does a Custom Concrete Driveway Last?

With proper design, prep, and maintenance, a custom concrete driveway can last 30+ years.


Key factors that affect lifespan:


  • Quality of base material and compaction
  • Reinforcement (rebar and/or fiber mesh)
  • Concrete mix (4000 psi or higher recommended)
  • Sealing schedule (every 2–3 years)
  • Drainage and slope to move water away

Stamped or stained finishes need regular resealing, but the base concrete remains strong for decades when installed right.

Maintenance Tips for Long-Term Performance

To keep your custom driveway looking as good as the day it was poured:


  • Clean it regularly with mild detergent and a broom or leaf blower
  • Avoid de-icing salts in winter—they break down surface finishes
  • Reseal every 2–3 years to maintain color and surface protection
  • Check drainage areas for blockages, especially near channel drains
  • Keep heavy loads off for at least a week after installation

It’s not high maintenance—it’s smart maintenance. A little upkeep goes a long way with concrete.

Final Thoughts

Custom concrete driveways are more than just an upgrade—they’re a statement. For upscale properties, they balance function and form in a way that sets the tone from the moment you arrive.


From stamped textures and custom stains to seamless layouts and high-performance drainage, the right driveway brings everything together.


Elite Outdoor Living Solutions works with high-end clients to design and install driveways that don’t just look incredible—they last. With expert crews, premium materials, and a focus on quality from prep to polish, we deliver results worthy of your property.


Ready to upgrade your driveway? Reach out to Elite Outdoor Living Solutions and let’s talk about what’s possible.
September 16, 2026
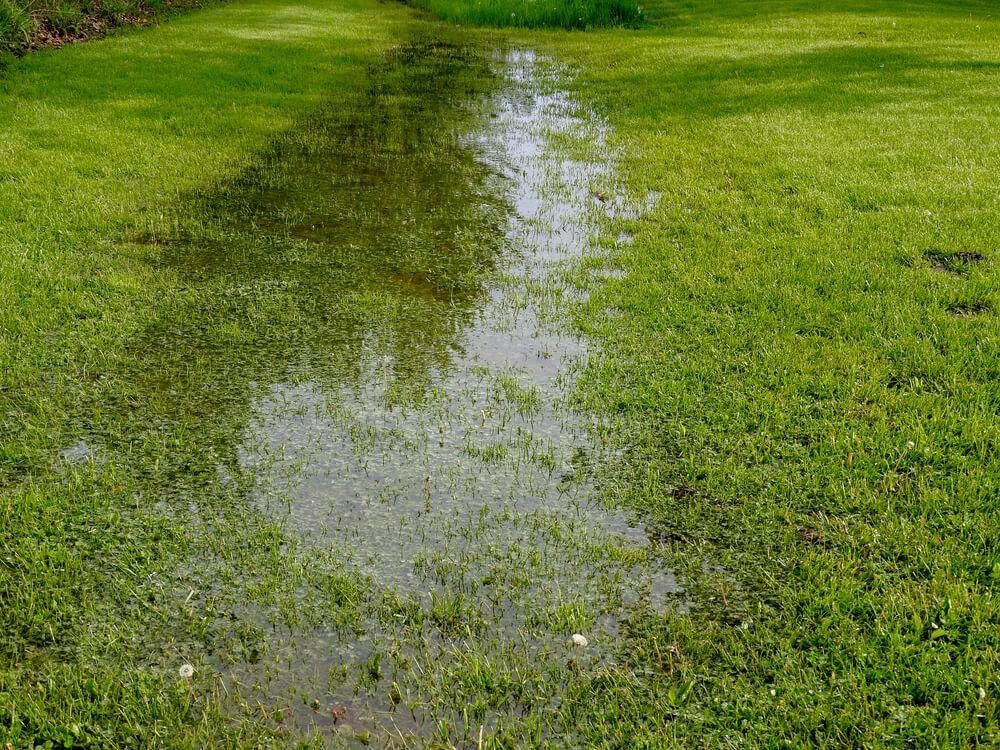
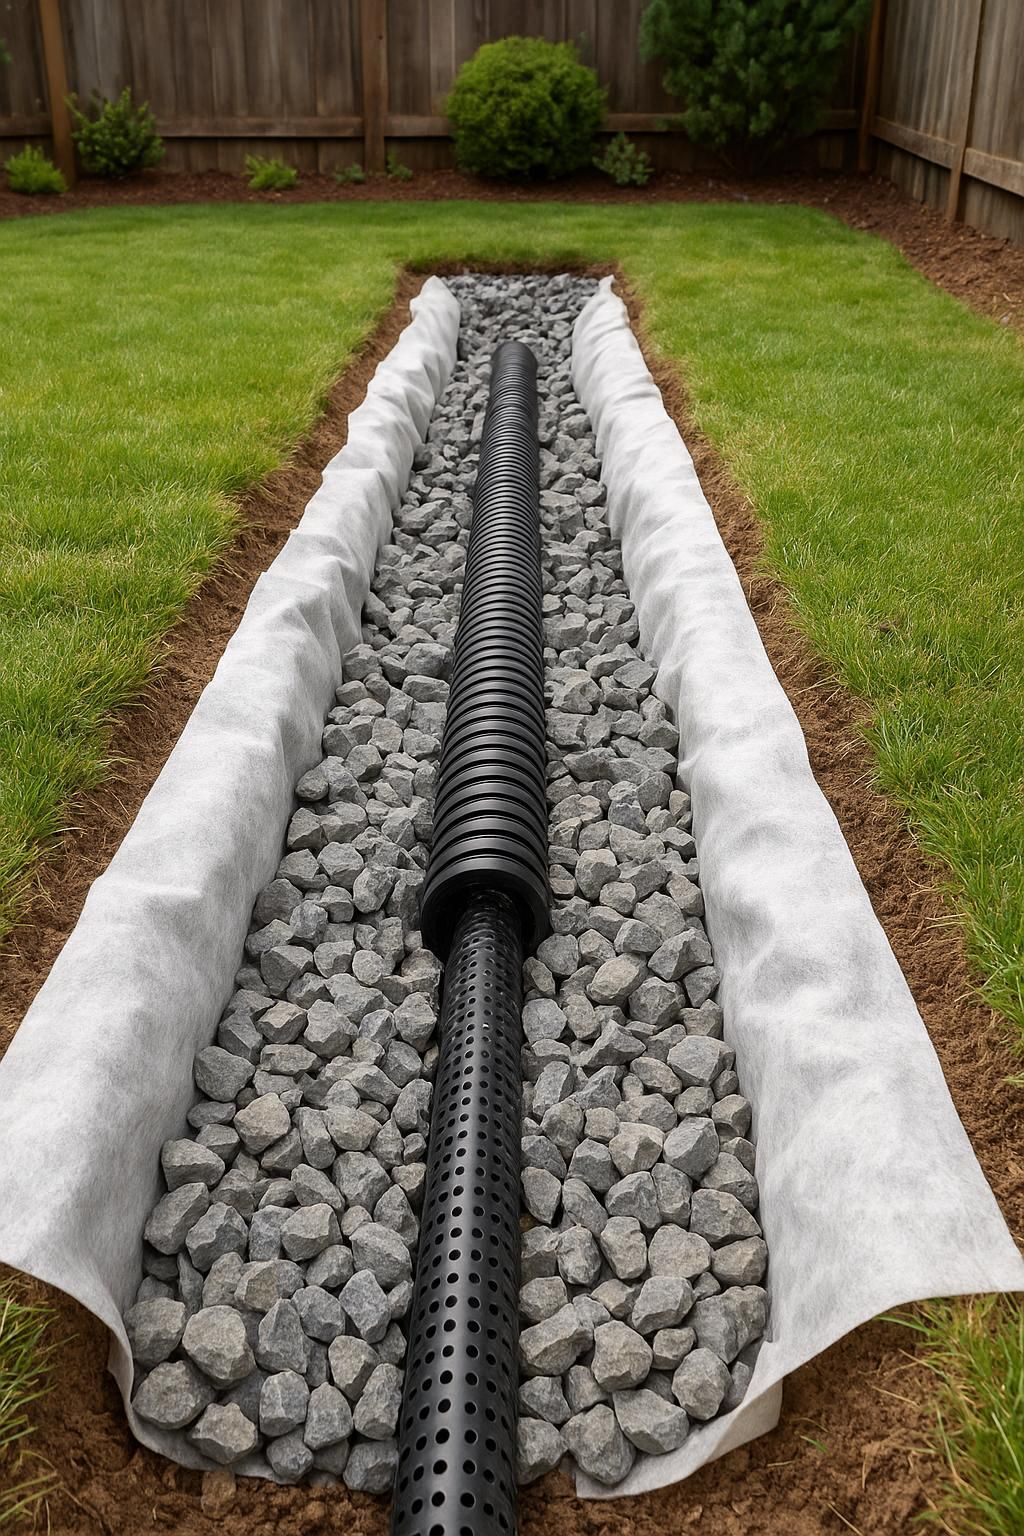
A French drain isn't a set-it-and-forget-it system forever. Pipes clog, gravel beds compact and fill with silt, and systems installed without the right slope or outlet stop working long before most homeowners notice — usually right around the time a big storm reveals the problem. Standing Water Returns Where It Used to Drain The clearest sign is the most obvious one: an area that used to stay dry after rain is pooling again. This almost always means the pipe is clogged with silt or debris, the gravel bed has compacted and lost its ability to move water, or the outlet the drain empties into is blocked. Soggy Ground Directly Over the Drain Line If the ground along the drain's path stays wet or spongy longer than the surrounding yard, water is likely surfacing along the trench instead of moving through the pipe as intended. This can mean the pipe has collapsed, shifted, or was installed without enough slope to keep water moving toward the outlet. Water Near the Foundation Despite Having a Drain If a French drain was installed specifically to protect your foundation and you're still seeing moisture in the basement or along the foundation wall, the system either isn't intercepting water before it reaches that zone, or the original installation wasn't deep enough or positioned correctly relative to the foundation. What Repair Actually Involves Fixing a failed French drain starts with locating the failure point — usually by excavating a section to inspect the pipe and gravel condition, or using a camera scope for longer runs. Depending on what we find, repair can mean flushing and clearing debris, replacing a collapsed or damaged section of pipe, adding gravel back where it's compacted, or in some cases, re-routing the system entirely if the original slope or outlet was never correct to begin with. When It's Time to Replace Rather Than Repair A French drain installed without proper fabric wrapping around the gravel bed will silt up repeatedly no matter how many times it's cleared, since the root cause — soil migrating into the gravel — was never addressed. In these cases, a full reinstall with the correct materials is more cost-effective long-term than repeated cleanouts.  Get Your Drainage System Inspected If your French drain isn't performing the way it used to, Elite Outdoor Living Solutions inspects and repairs yard drainage systems across Oklahoma City, Edmond, Norman, Moore, and Yukon. Call (405) 972-8338 or contact us for a free assessment.
September 9, 2026
The body content of your post goes here. To edit this text, click on it and delete this default text and start typing your own or paste your own from a different source.
September 2, 2026
Ask the right questions before hiring a pool builder. Ensure a smooth project and avoid hidden costs. Contact us for expert guidance!
September 1, 2026
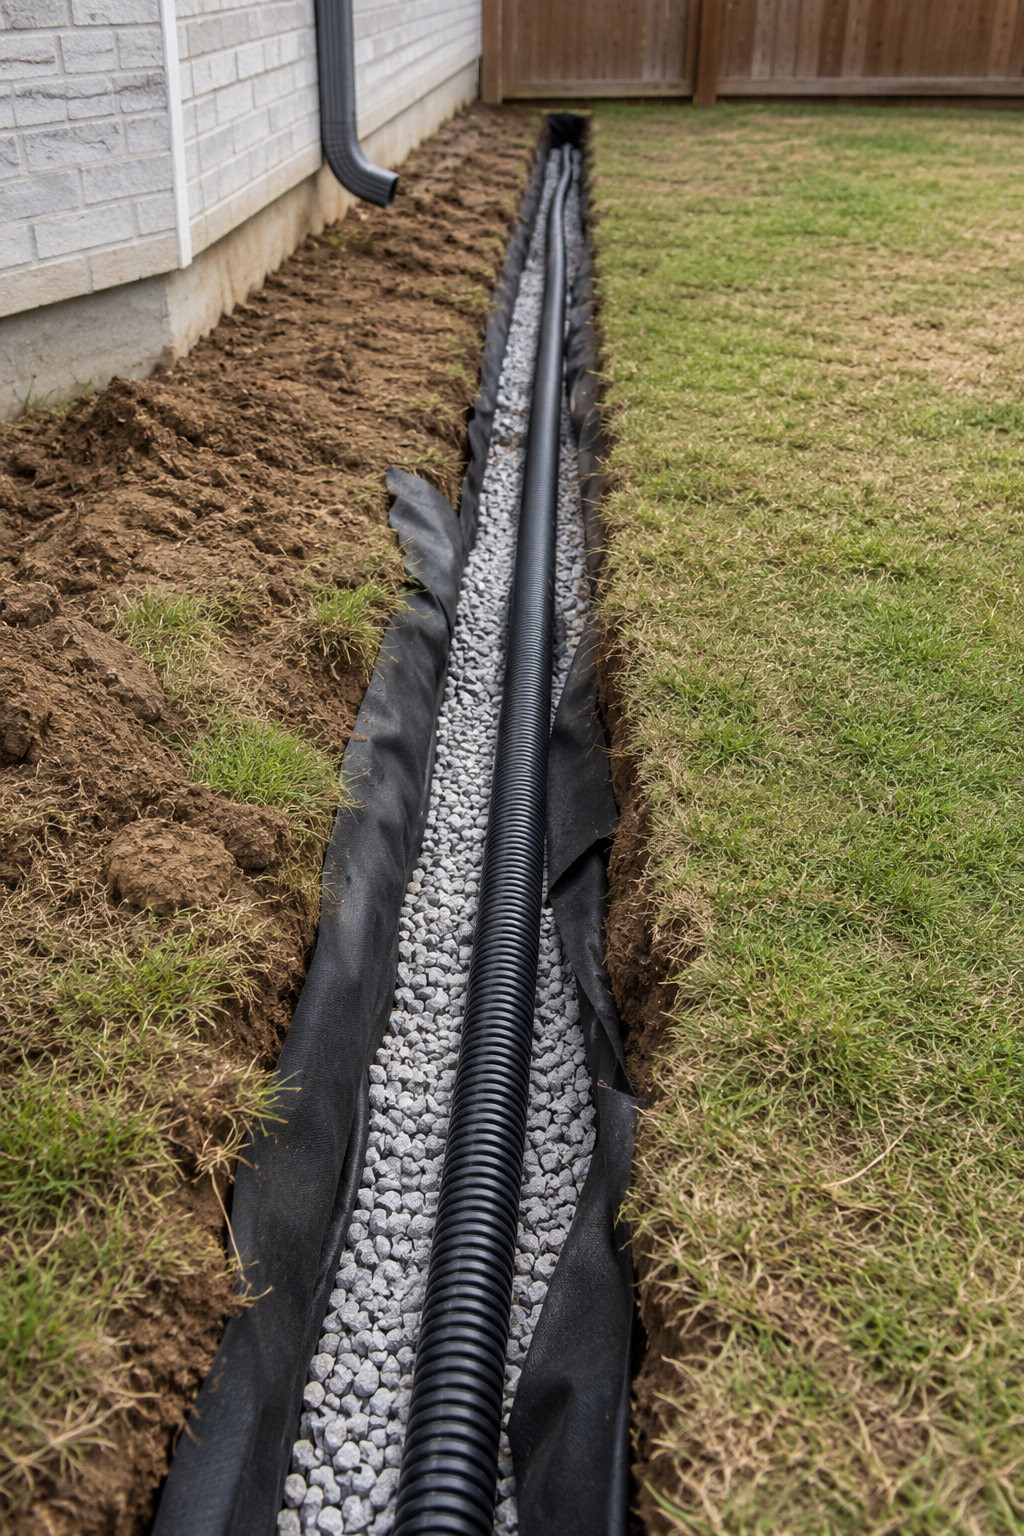
Once you know your yard needs a French drain, the next question is usually what the installation itself looks like — how long it takes, what gets dug up, and what your yard looks like when it's done. Here's what the process actually involves, step by step. 1. Site Assessment and Utility Marking Every installation starts with a walk of the property to confirm where water is collecting, trace where it's coming from, and map out the best path for the drain to carry it away. Before any digging happens, underground utilities on the property have to be located and marked — skipping this step risks hitting a gas, water, or electrical line during trenching. 2. Trenching Along the Planned Path With the path marked, the trench gets dug to the depth and slope needed to move water by gravity toward the discharge point. Getting the slope right matters more than the trench being deep — a French drain with the wrong grade won't drain properly no matter how well the rest of it is built. 3. Lining the Trench and Placing the Pipe The trench gets lined with landscape fabric, which keeps soil and sediment from working their way into the gravel and clogging the system over time. A perforated pipe goes in along the bottom of the trench, oriented so water can enter through the perforations and flow toward the discharge point. 4. Backfilling with Gravel Gravel gets backfilled around and over the pipe, filling the trench and giving water an easy path to travel through instead of sitting in the surrounding soil. The landscape fabric gets folded over the top of the gravel before the trench is closed, to keep the system from filling in with dirt over time. 5. Connecting to a Discharge Point The system has to end somewhere water can actually go — a street, a dry well, or a low point on the property away from the house. A French drain that isn't tied into a real discharge point just moves water a short distance instead of actually solving the problem, so this connection is one of the most important parts of getting it right. 6. Restoring the Yard Once the trench is filled and compacted, any sod or landscaping that was disturbed during digging gets restored as closely as possible to how it looked before. On most residential jobs, the trench line is the only visible trace once the yard is cleaned up and any disturbed grass has a chance to fill back in. How Long It Takes Most straightforward residential French drain installations wrap up within a day or two. Longer runs, systems that have to route around existing landscaping or hardscape, or yards where several problem areas are being tied into one system can take longer. The site assessment is usually where that timeline gets a clearer answer, since it depends on the specific yard. What to Do Before the Crew Arrives Clear the work area of furniture, planters, or anything else near the planned trench path. Point out any sprinkler lines, invisible fence wire, or landscape lighting that might not show up on a utility locate. Expect some disturbed grass or landscaping directly along the trench line — this is normal and typically fills back in or gets reseeded after installation. After Installation Once the trench is closed and the yard is cleaned up, the disturbed area along the trench line is usually the only visible sign work happened — everything else is below the surface. Grass along the trench typically needs a few weeks to fill back in. From that point, the system works continuously below ground any time it rains, without anything for the homeowner to maintain day to day.  Get a French Drain Installation Quote Elite Outdoor Living Solutions installs French drains and full yard drainage systems across Oklahoma City, Edmond, Bethany, Nichols Hills, Norman, Moore, Yukon, and Mustang. Every installation starts with an on-site assessment, so the scope and timeline reflect your actual yard rather than a general estimate. Call (405) 972-8338 or contact us to get started.
August 26, 2026
Learn how Vuba Stone lasts 10-15 years in Oklahoma's climate. Contact us for expert installation and durable outdoor solutions!
August 19, 2026
Compare French drains, channel drains, & catch basins for your yard. Choose the right solution today!
August 12, 2026
Plan your inground pool installation with our expert guide. Start early for a smooth build process and enjoy your summer oasis!
August 7, 2026
Learn when to repair or resurface your concrete pool deck. Get expert advice today!
July 29, 2026
Ignoring yard drainage can lead to costly damage. Learn about French drains & protect your home. Contact us for tailored solutions!
July 24, 2026
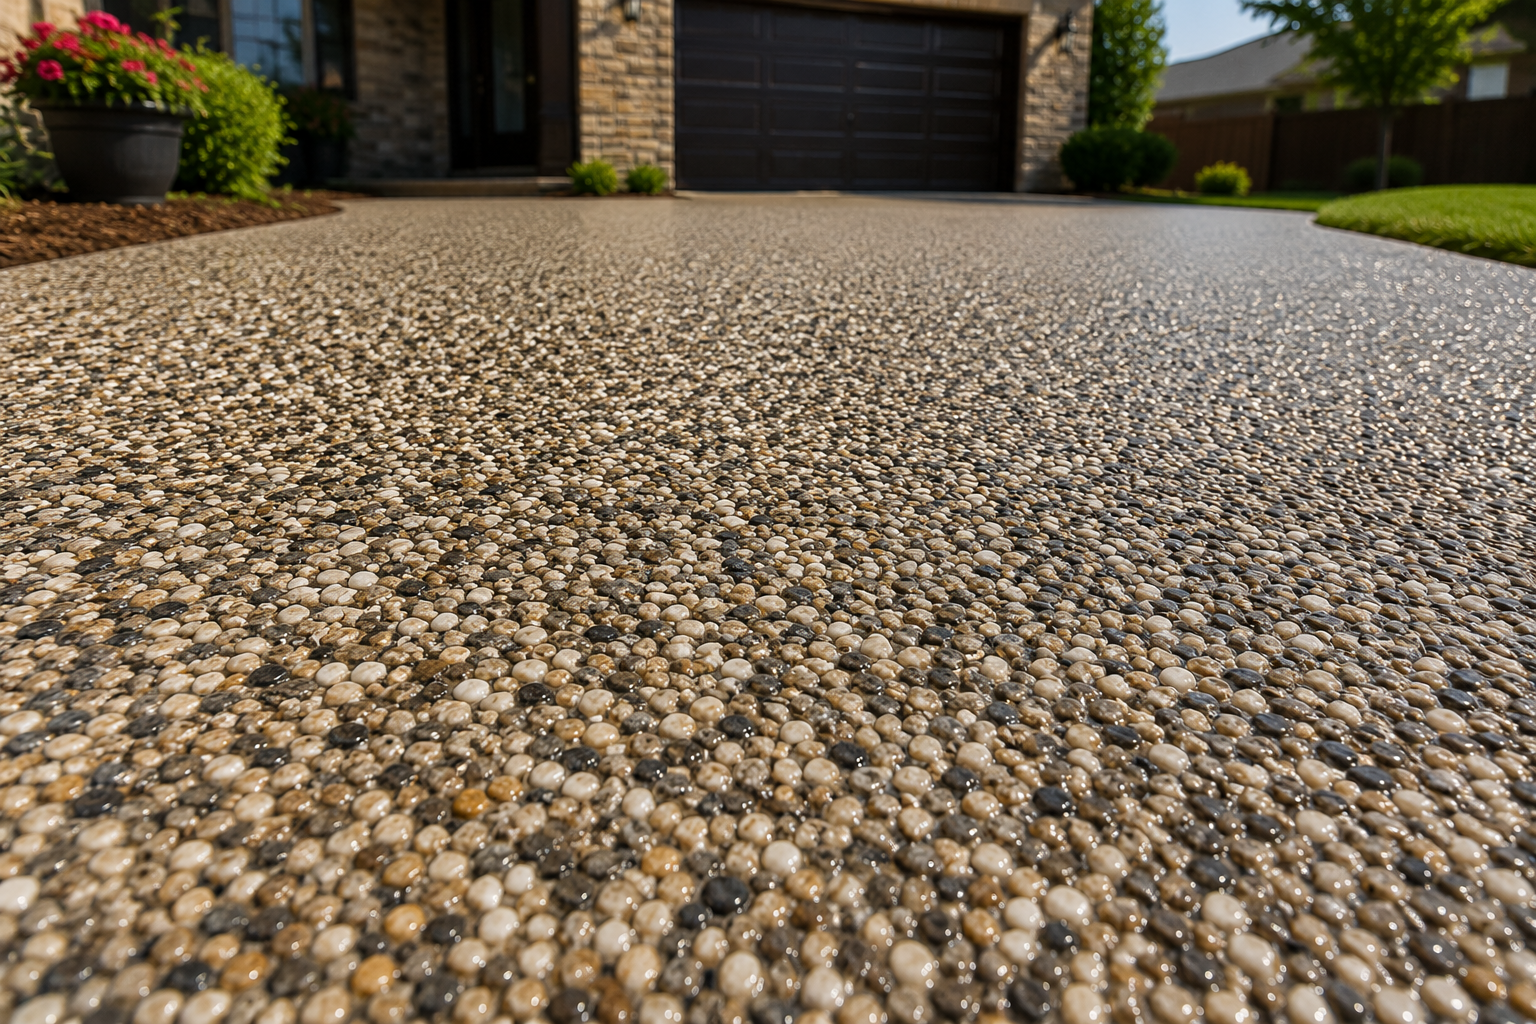
Homeowners in Edmond & Nichols Hills choose resin-bound driveways for durability & style. Contact us for a quote today!