
French Drain Installation OKC: What to Expect Step by Step
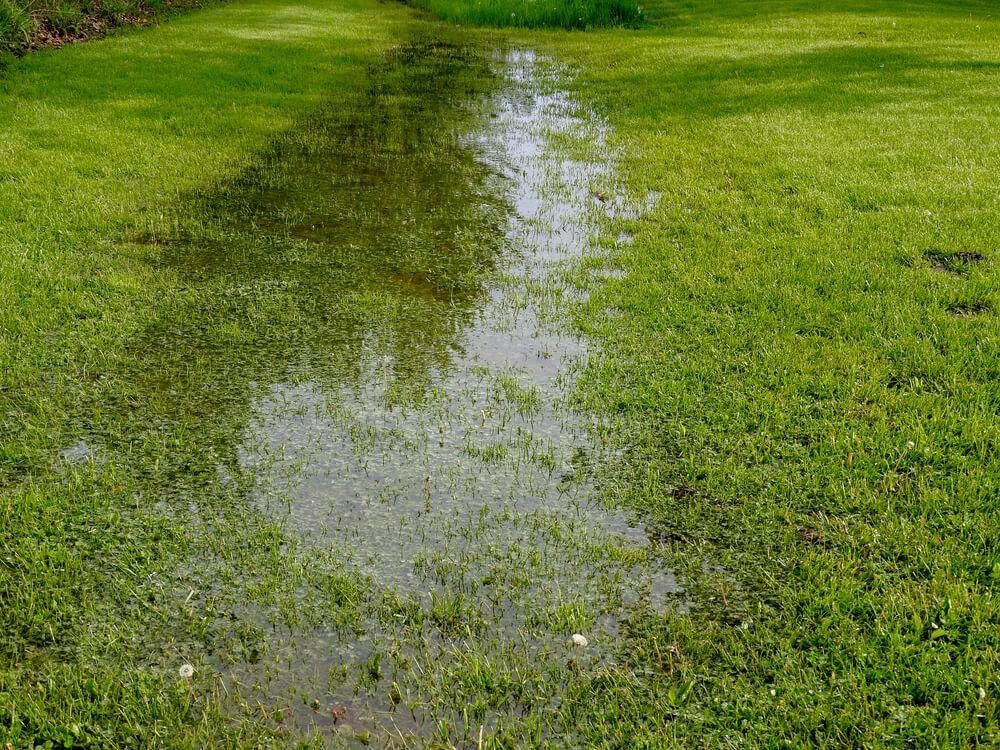
Once you know your yard needs a French drain, the next question is usually what the installation itself looks like — how long it takes, what gets dug up, and what your yard looks like when it's done. Here's what the process actually involves, step by step.
1. Site Assessment and Utility Marking
Every installation starts with a walk of the property to confirm where water is collecting, trace where it's coming from, and map out the best path for the drain to carry it away. Before any digging happens, underground utilities on the property have to be located and marked — skipping this step risks hitting a gas, water, or electrical line during trenching.
2. Trenching Along the Planned Path
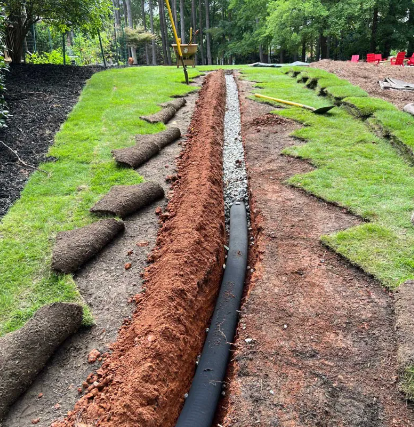
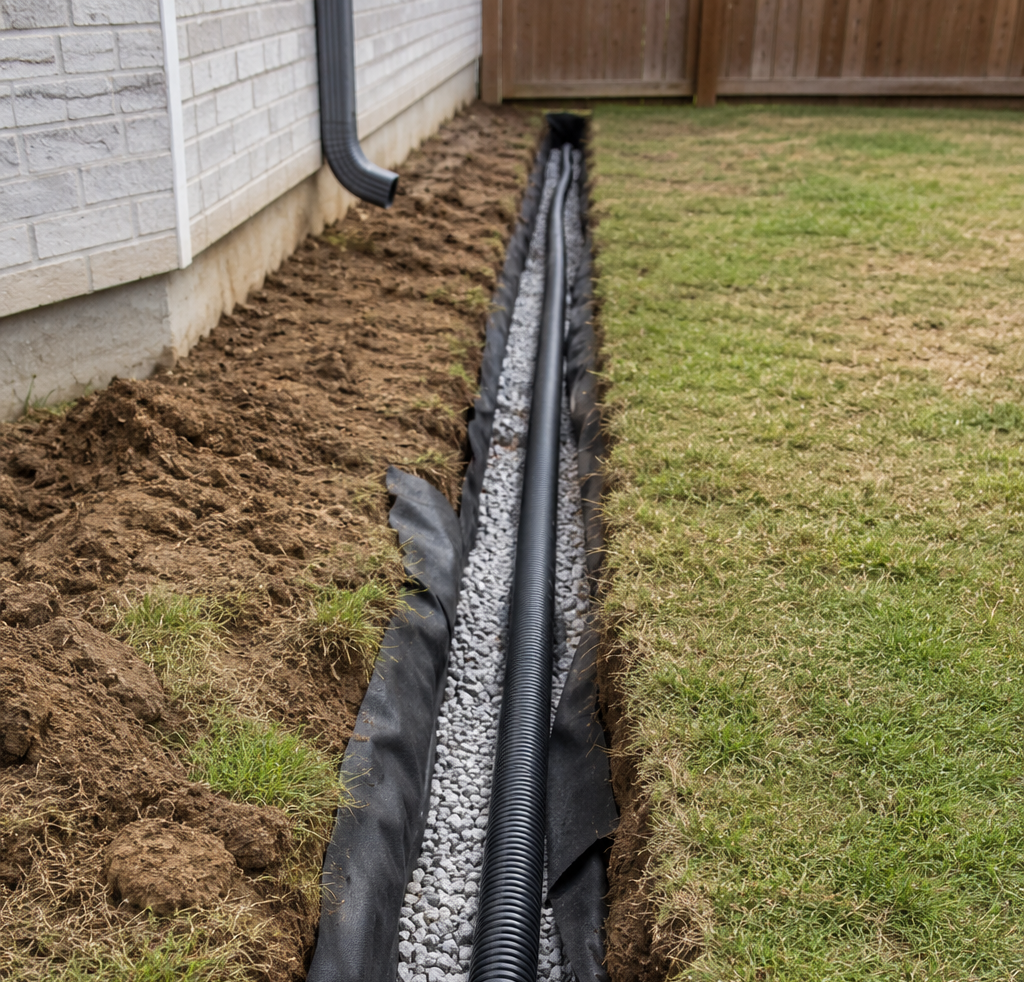
With the path marked, the trench gets dug to the depth and slope needed to move water by gravity toward the discharge point. Getting the slope right matters more than the trench being deep — a French drain with the wrong grade won't drain properly no matter how well the rest of it is built.
3. Lining the Trench and Placing the Pipe
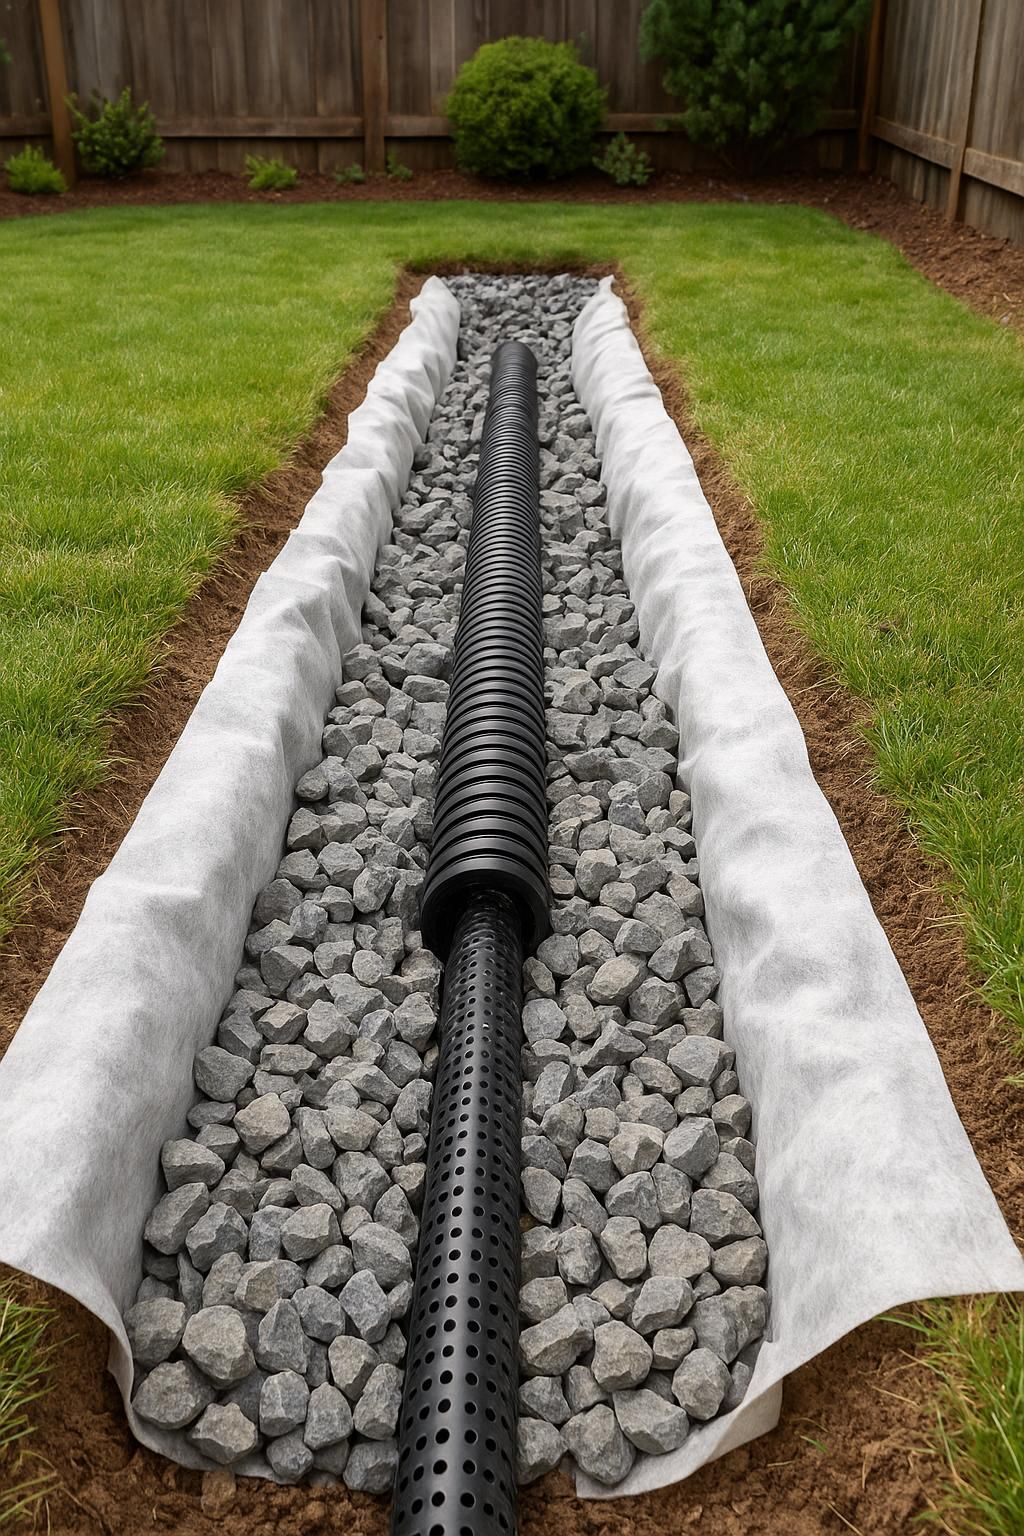
The trench gets lined with landscape fabric, which keeps soil and sediment from working their way into the gravel and clogging the system over time. A perforated pipe goes in along the bottom of the trench, oriented so water can enter through the perforations and flow toward the discharge point.
4. Backfilling with Gravel
Gravel gets backfilled around and over the pipe, filling the trench and giving water an easy path to travel through instead of sitting in the surrounding soil. The landscape fabric gets folded over the top of the gravel before the trench is closed, to keep the system from filling in with dirt over time.
5. Connecting to a Discharge Point
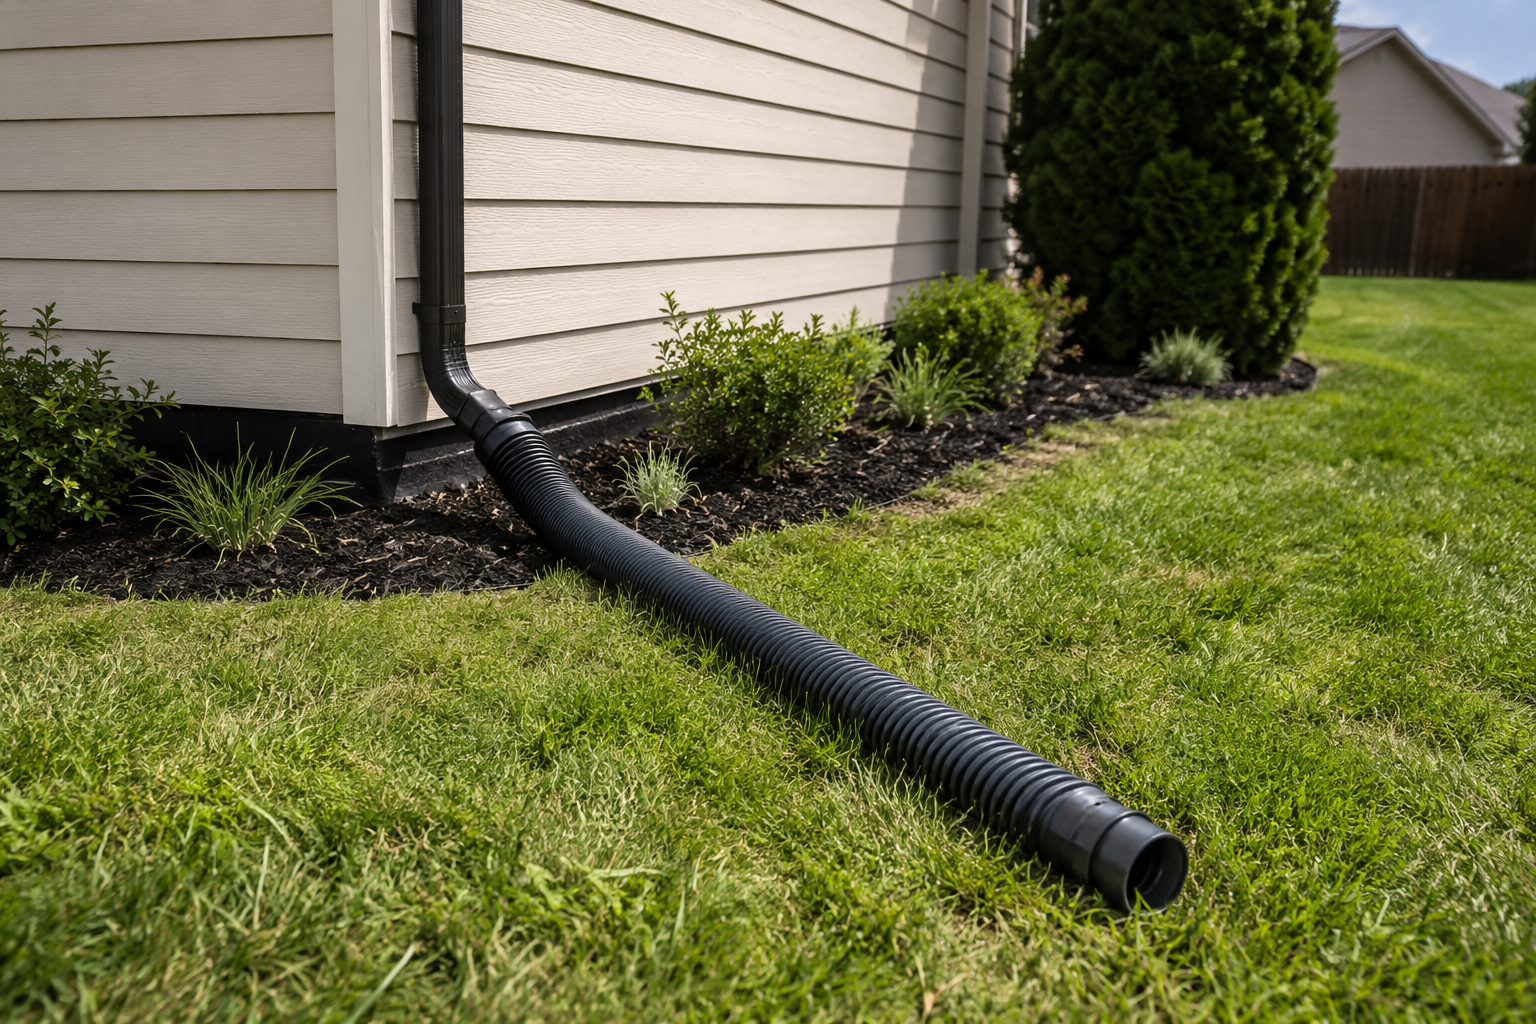
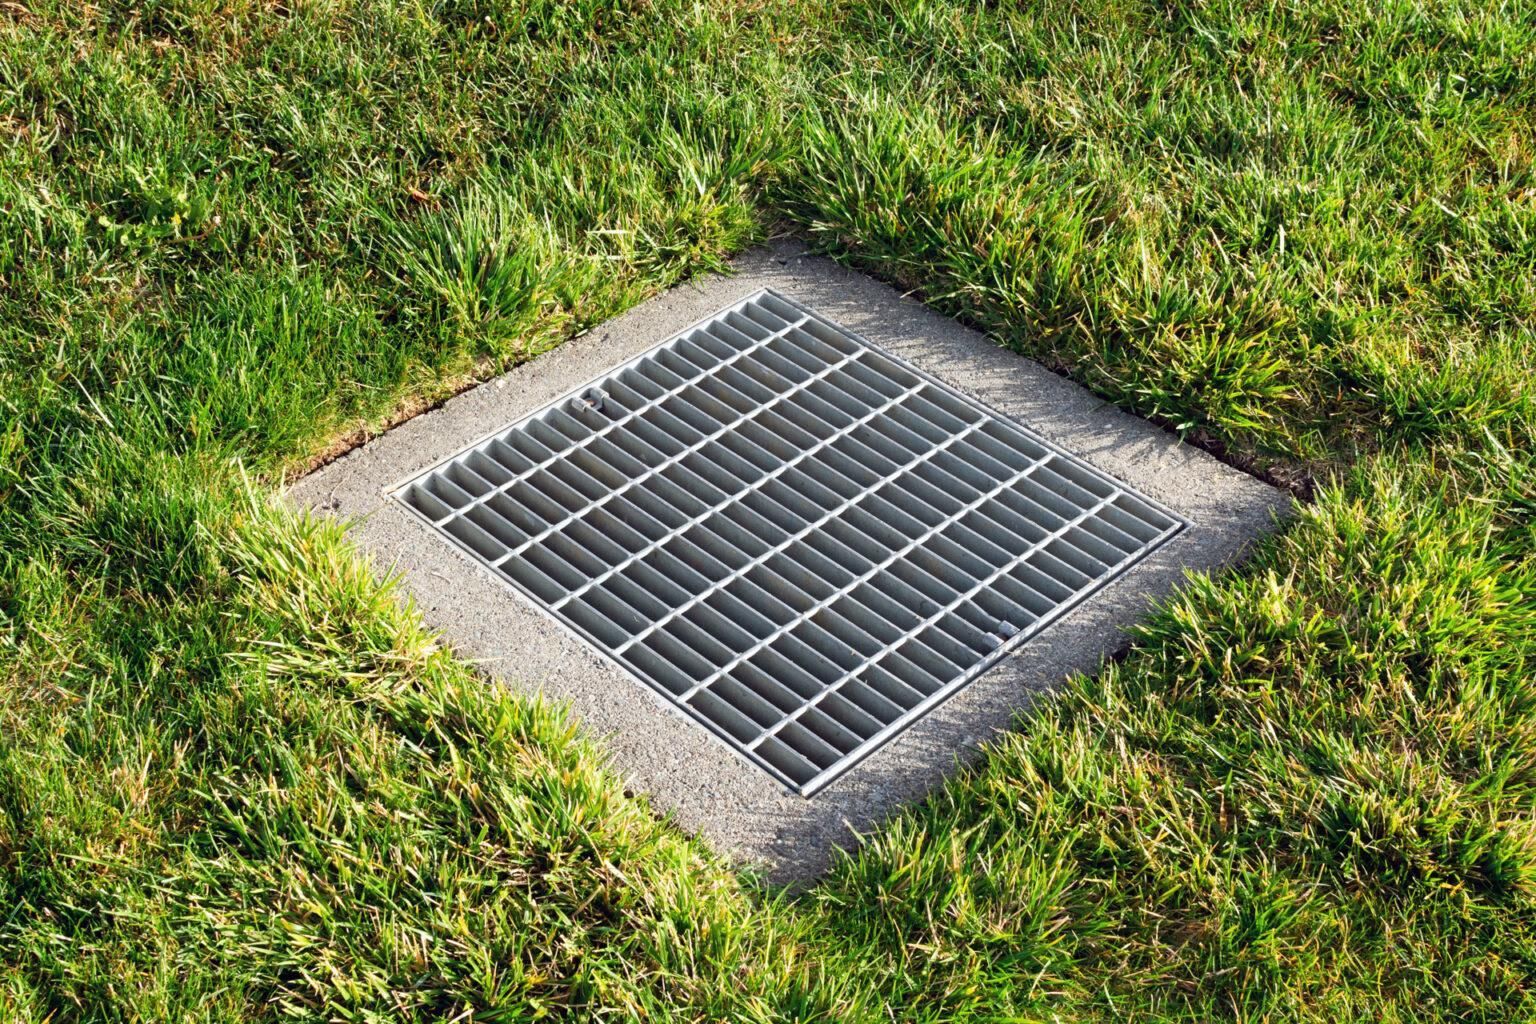
The system has to end somewhere water can actually go — a street, a dry well, or a low point on the property away from the house. A French drain that isn't tied into a real discharge point just moves water a short distance instead of actually solving the problem, so this connection is one of the most important parts of getting it right.
6. Restoring the Yard
Once the trench is filled and compacted, any sod or landscaping that was disturbed during digging gets restored as closely as possible to how it looked before. On most residential jobs, the trench line is the only visible trace once the yard is cleaned up and any disturbed grass has a chance to fill back in.
How Long It Takes
Most straightforward residential French drain installations wrap up within a day or two. Longer runs, systems that have to route around existing landscaping or hardscape, or yards where several problem areas are being tied into one system can take longer. The site assessment is usually where that timeline gets a clearer answer, since it depends on the specific yard.
What to Do Before the Crew Arrives
- Clear the work area of furniture, planters, or anything else near the planned trench path.
- Point out any sprinkler lines, invisible fence wire, or landscape lighting that might not show up on a utility locate.
- Expect some disturbed grass or landscaping directly along the trench line — this is normal and typically fills back in or gets reseeded after installation.
After Installation
Once the trench is closed and the yard is cleaned up, the disturbed area along the trench line is usually the only visible sign work happened — everything else is below the surface. Grass along the trench typically needs a few weeks to fill back in. From that point, the system works continuously below ground any time it rains, without anything for the homeowner to maintain day to day.
Get a French Drain Installation Quote
Elite Outdoor Living Solutions installs French drains and full yard drainage systems across Oklahoma City, Edmond, Bethany, Nichols Hills, Norman, Moore, Yukon, and Mustang. Every installation starts with an on-site assessment, so the scope and timeline reflect your actual yard rather than a general estimate. Call (405) 972-8338 or contact us to get started.